3D Scanning with Sense

Tool: Sense
Software: 3D Systems Sense
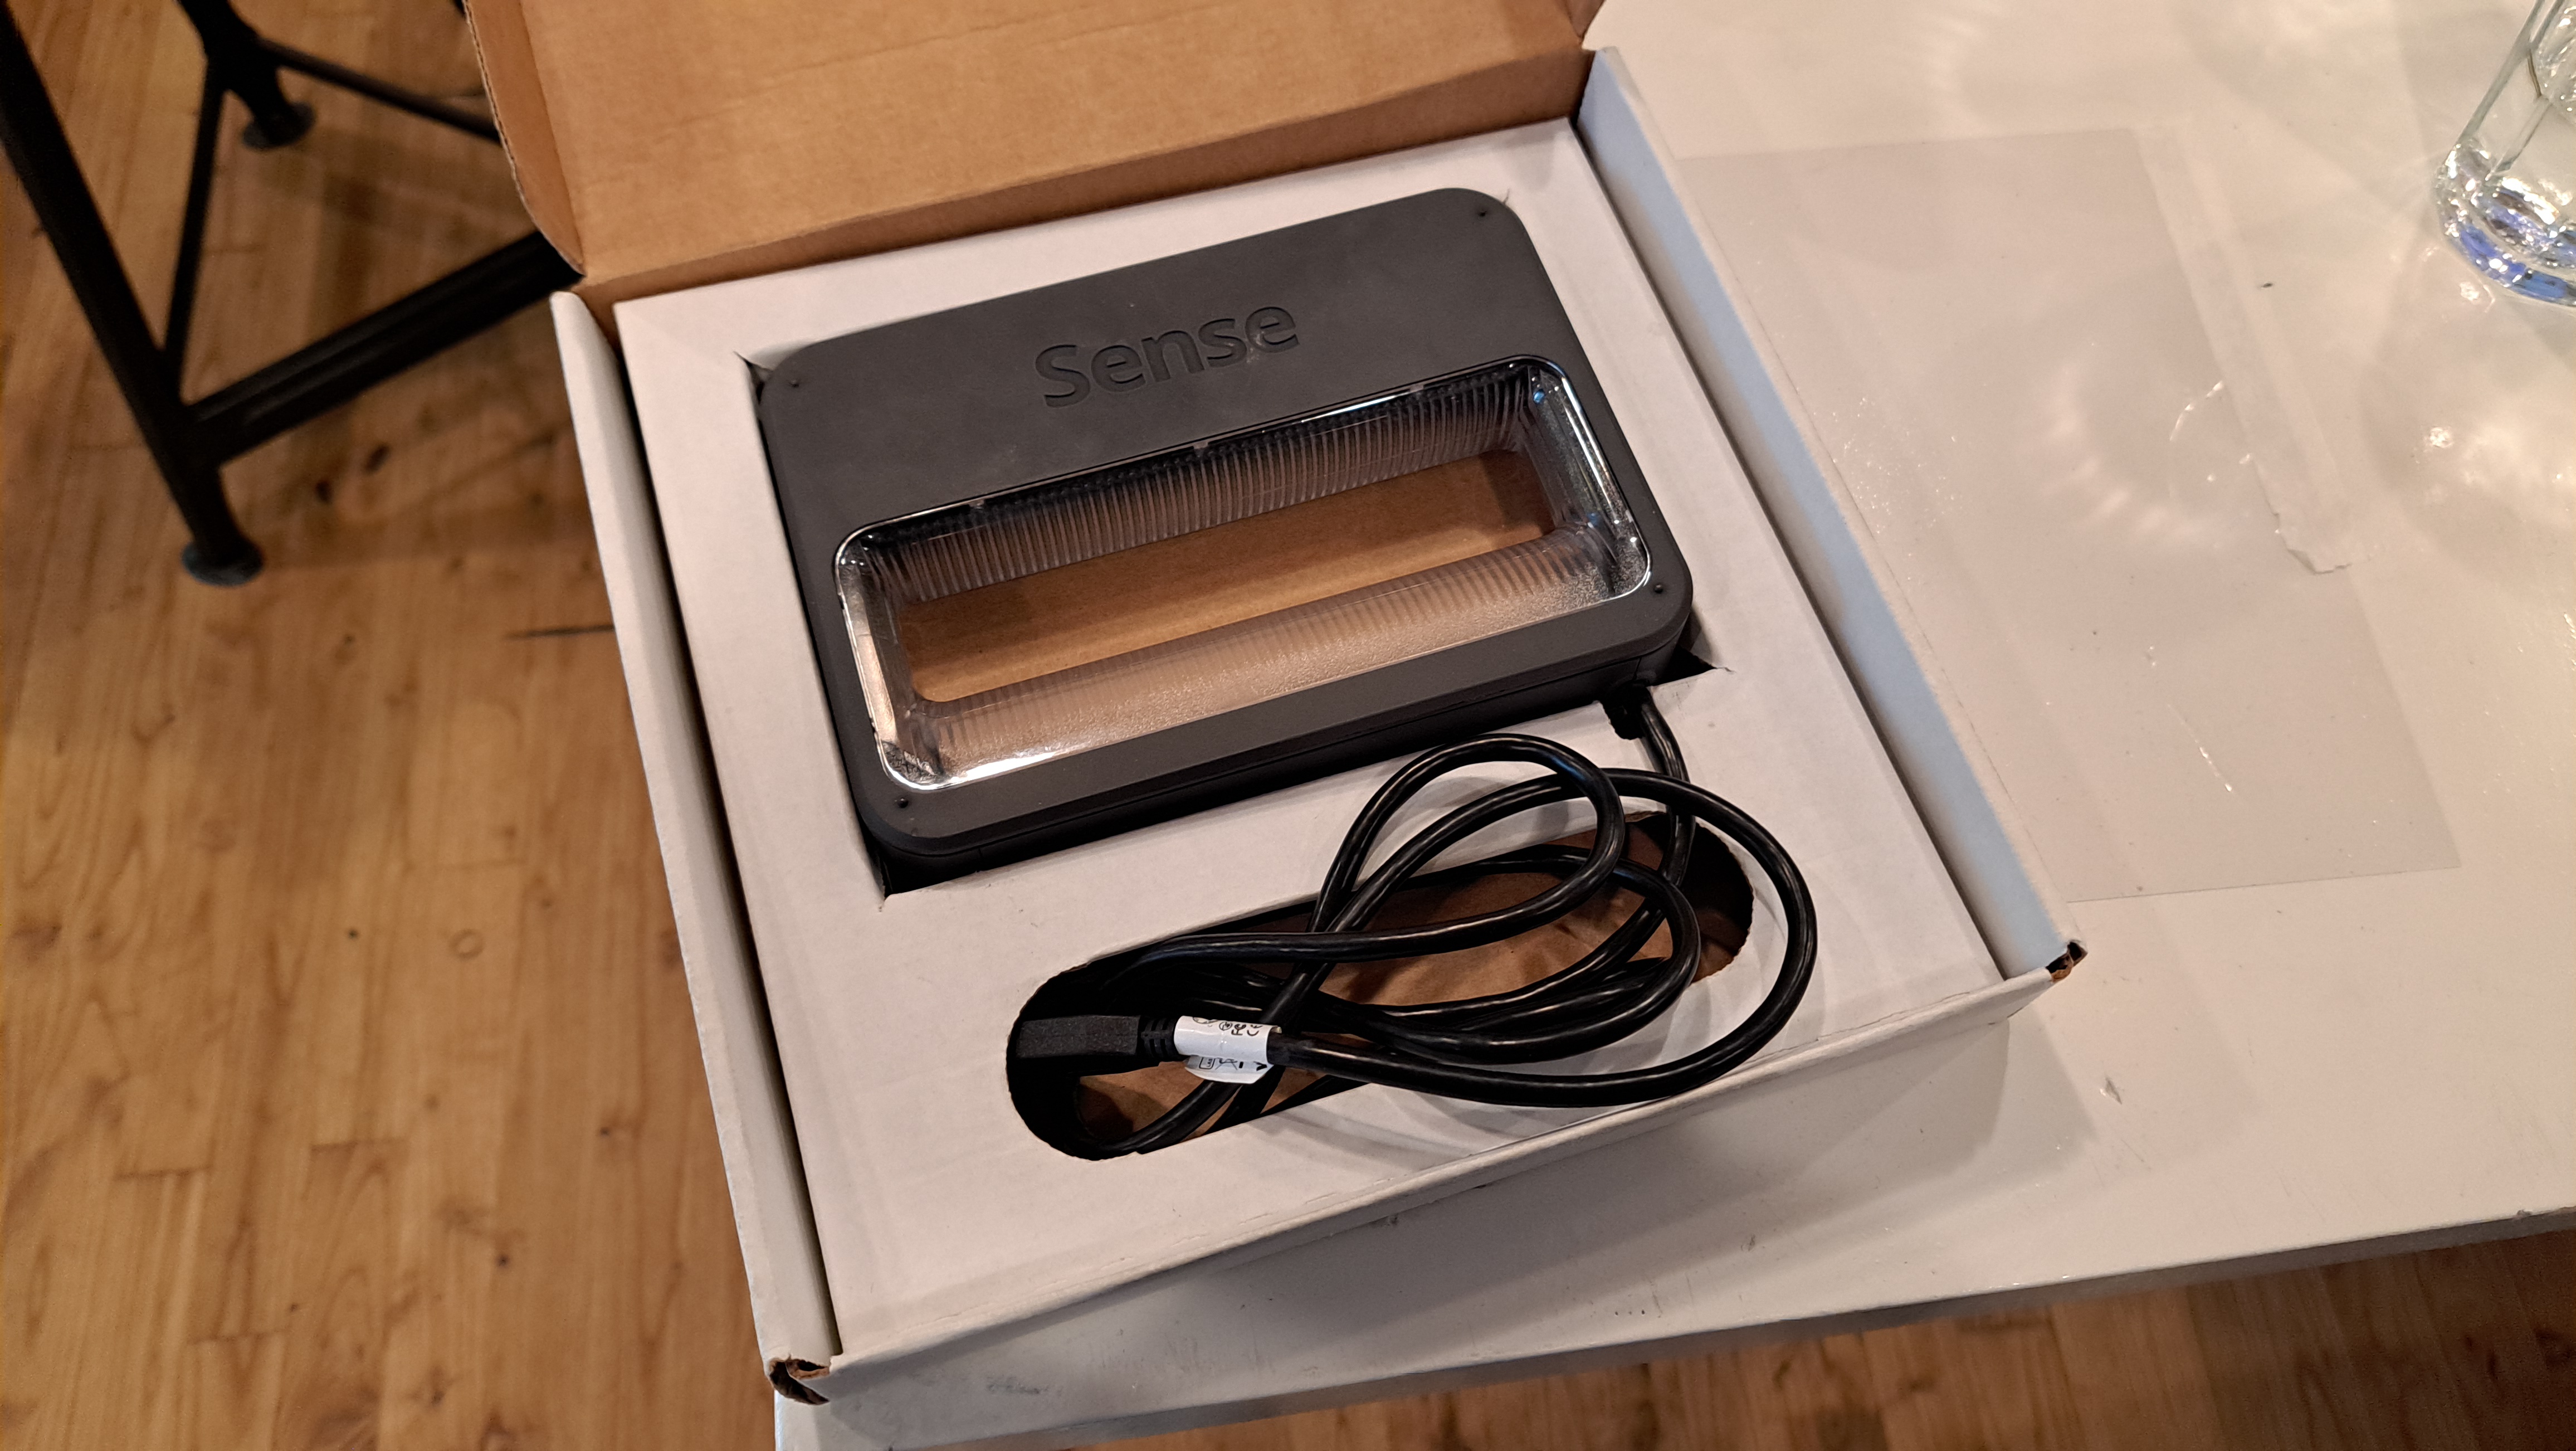
The 3D scanner we have at the Fablab is Sense 1 from 3D Systems. You will need the software 3D Systems Sense to accompany the scanner. The Software and the user guide can be found on their website.
In this post, I will explain the steps to scan a head (my head).
Plug Sense to your computer via USB-port.
Open the Sense software.
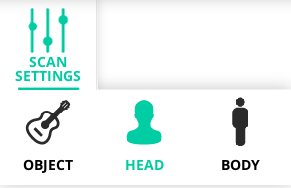
Go to SCAN SETTINGS > HEAD

Press SCAN
While scanning, check your computer screen. Green overlay on the model indicates the scanning is going fine, continue; red overlay indicates the scanner lost reference, so go back to a point which the scanner can recognize and continue from there.
When the scan is finished, press PAUSE and then FINISH
.png)
Rotate and check the model. You can adjust your model with TRIM and ERASE
Once you are satisfied with the model, Press SOLIDIFY. Solidify creates a 3d printable model.
.png)
Press FINISH when you are done and SAVE your file for future use.
EXPORT your model as .obj file. This is the file you will use, if you want to 3D Print your model as well.