3D Printing with Prusa
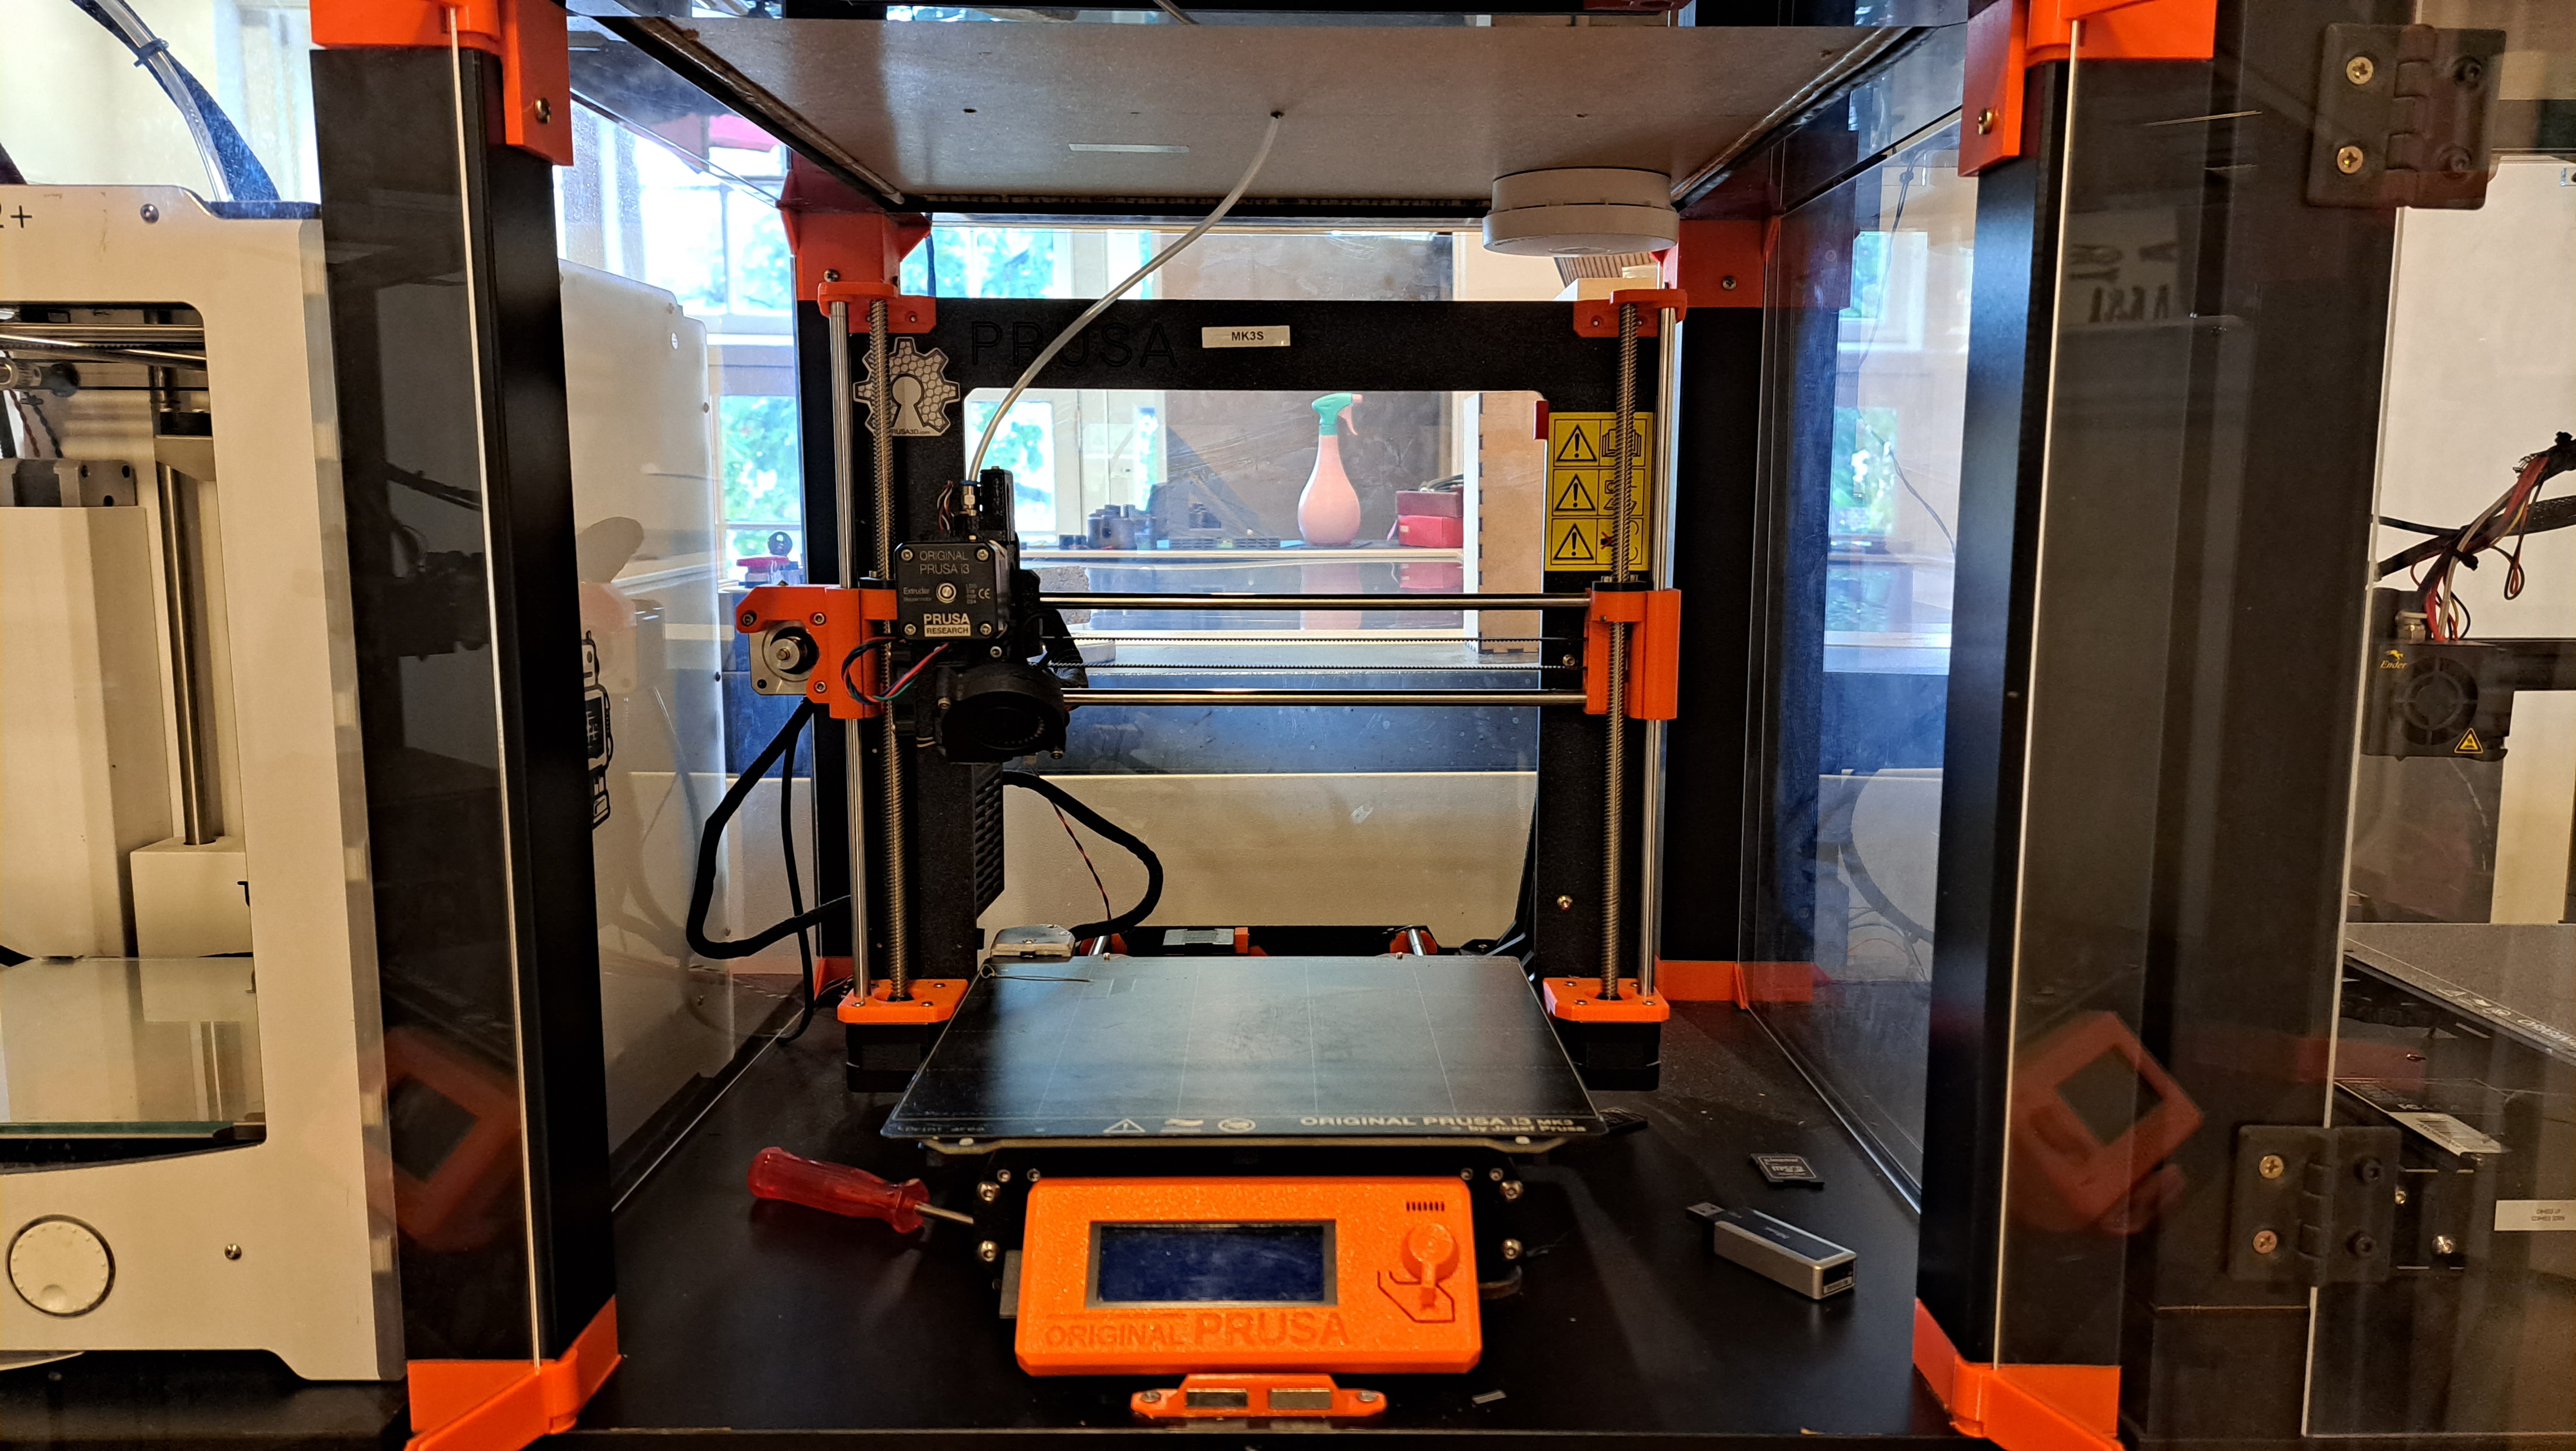
Machine: Prusa i3MK3S
Software: Prusa Slicer
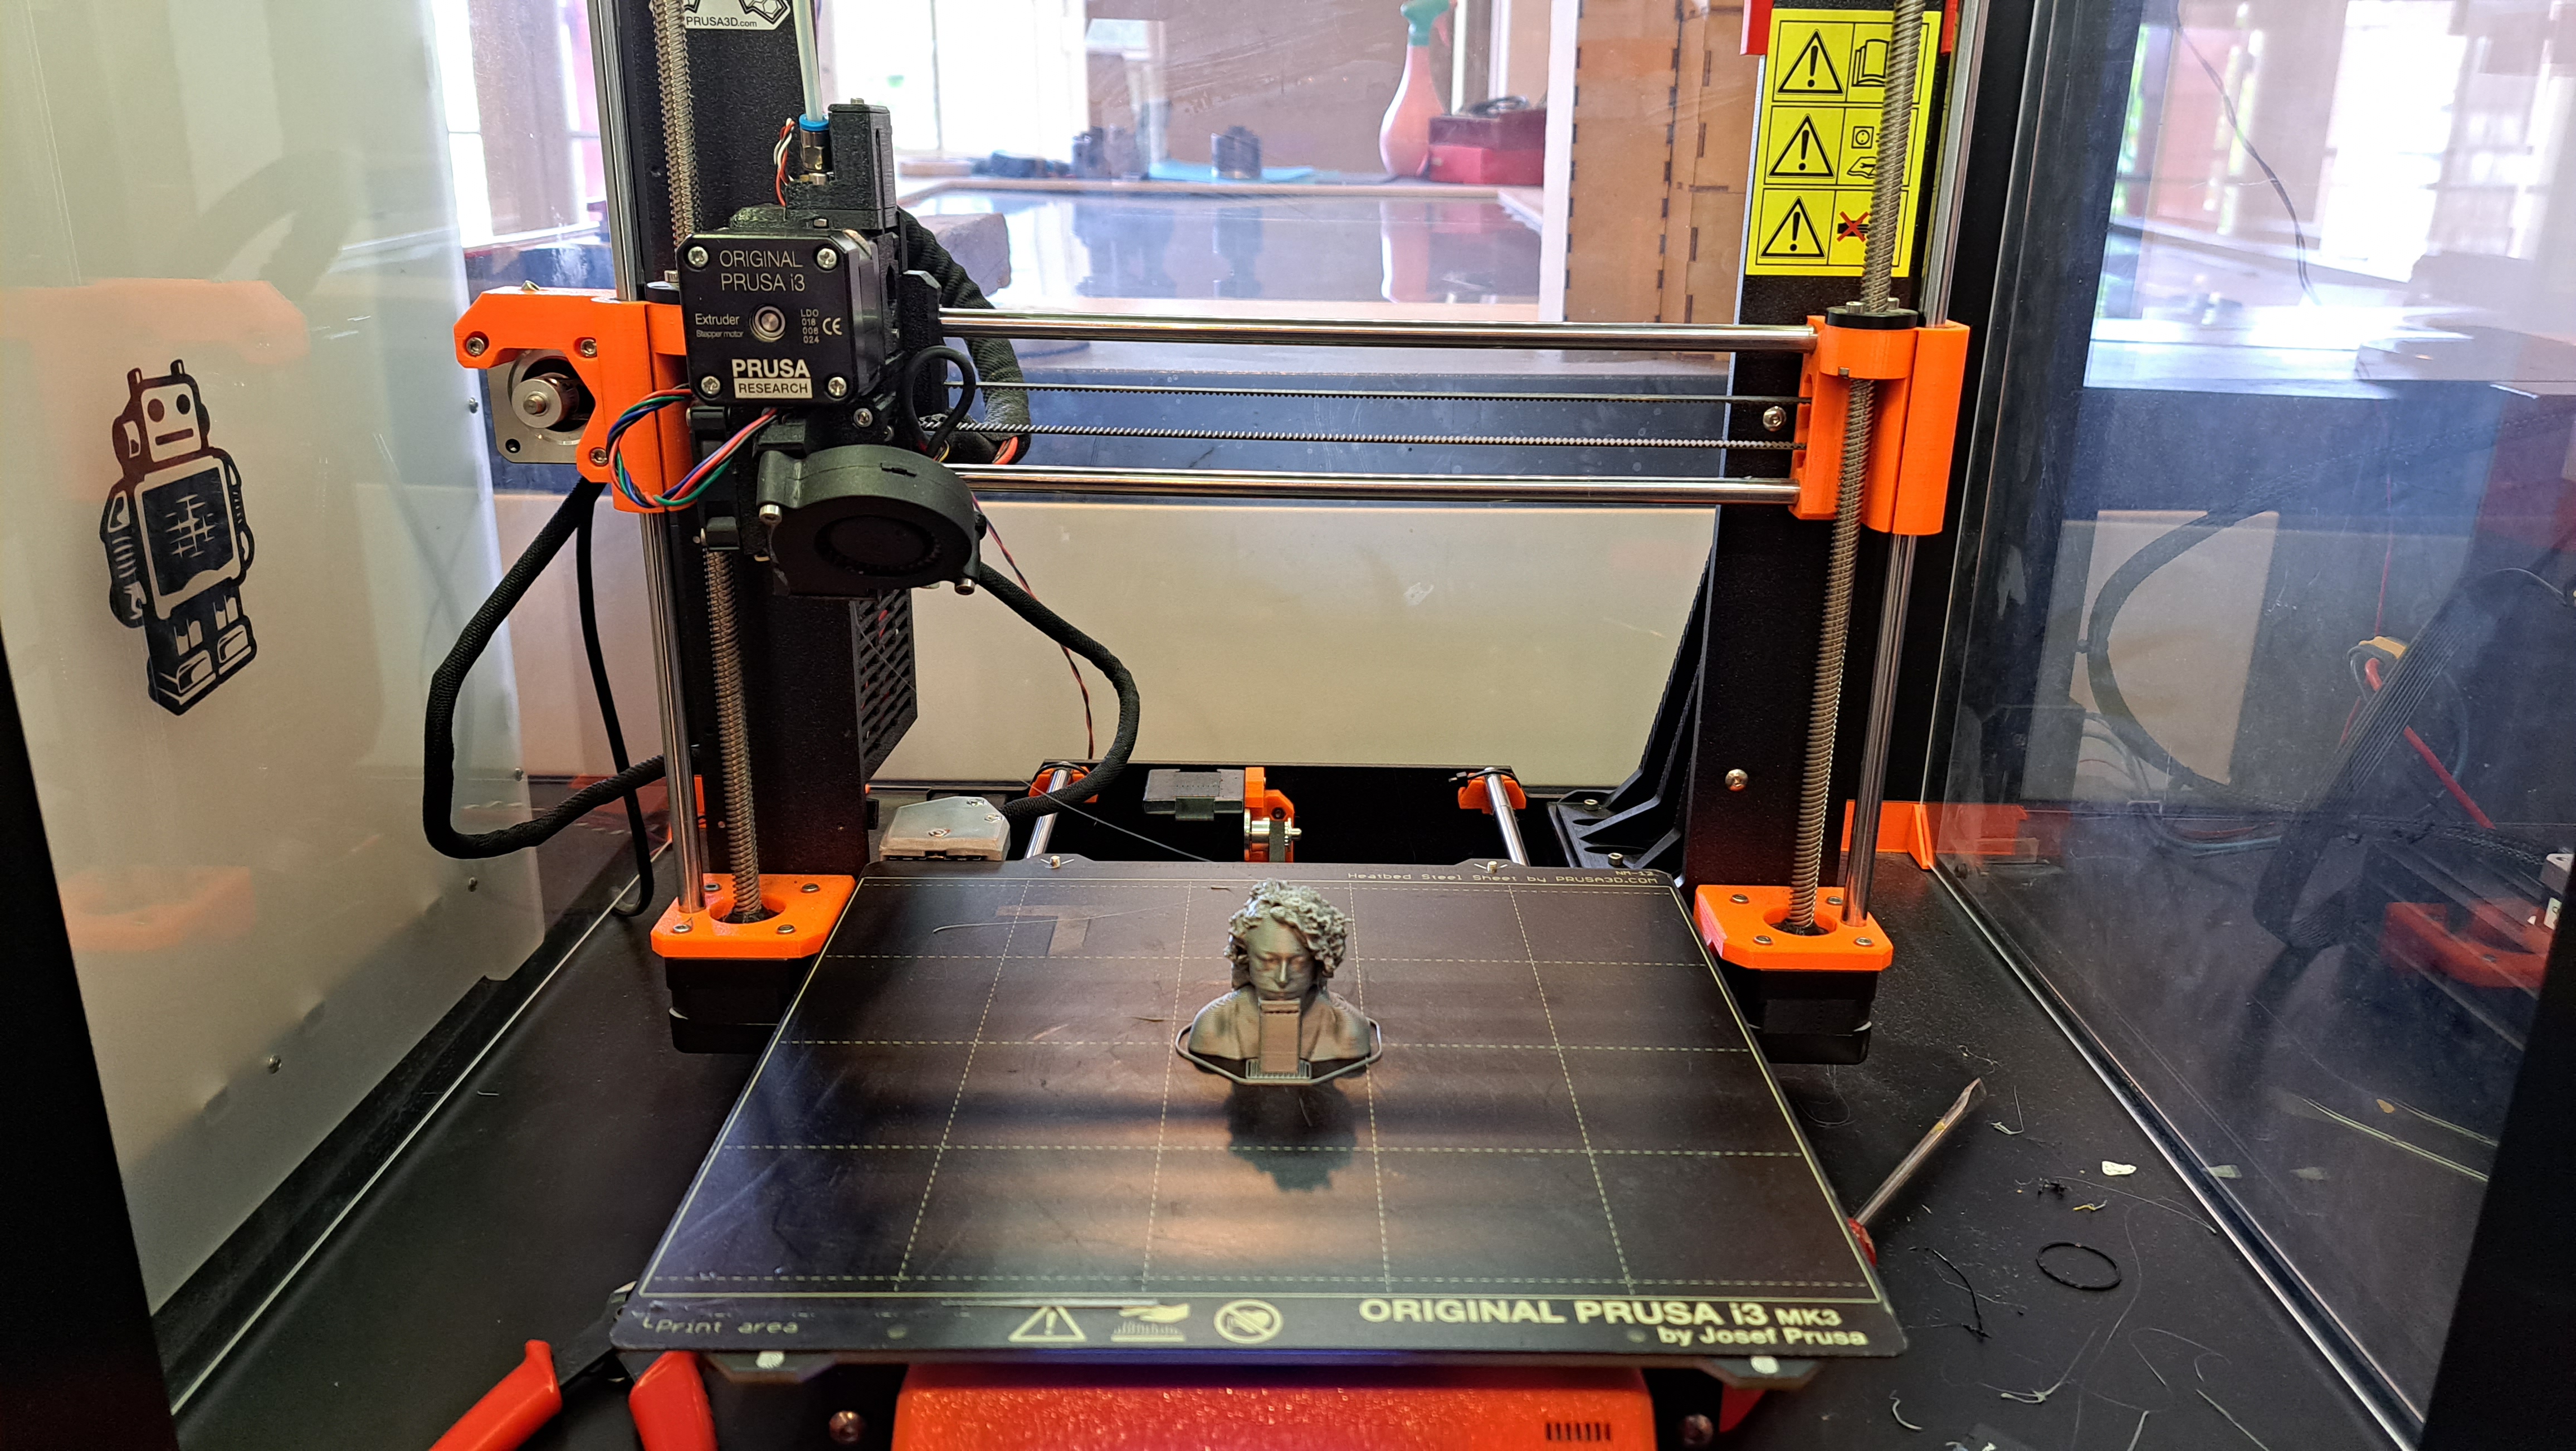
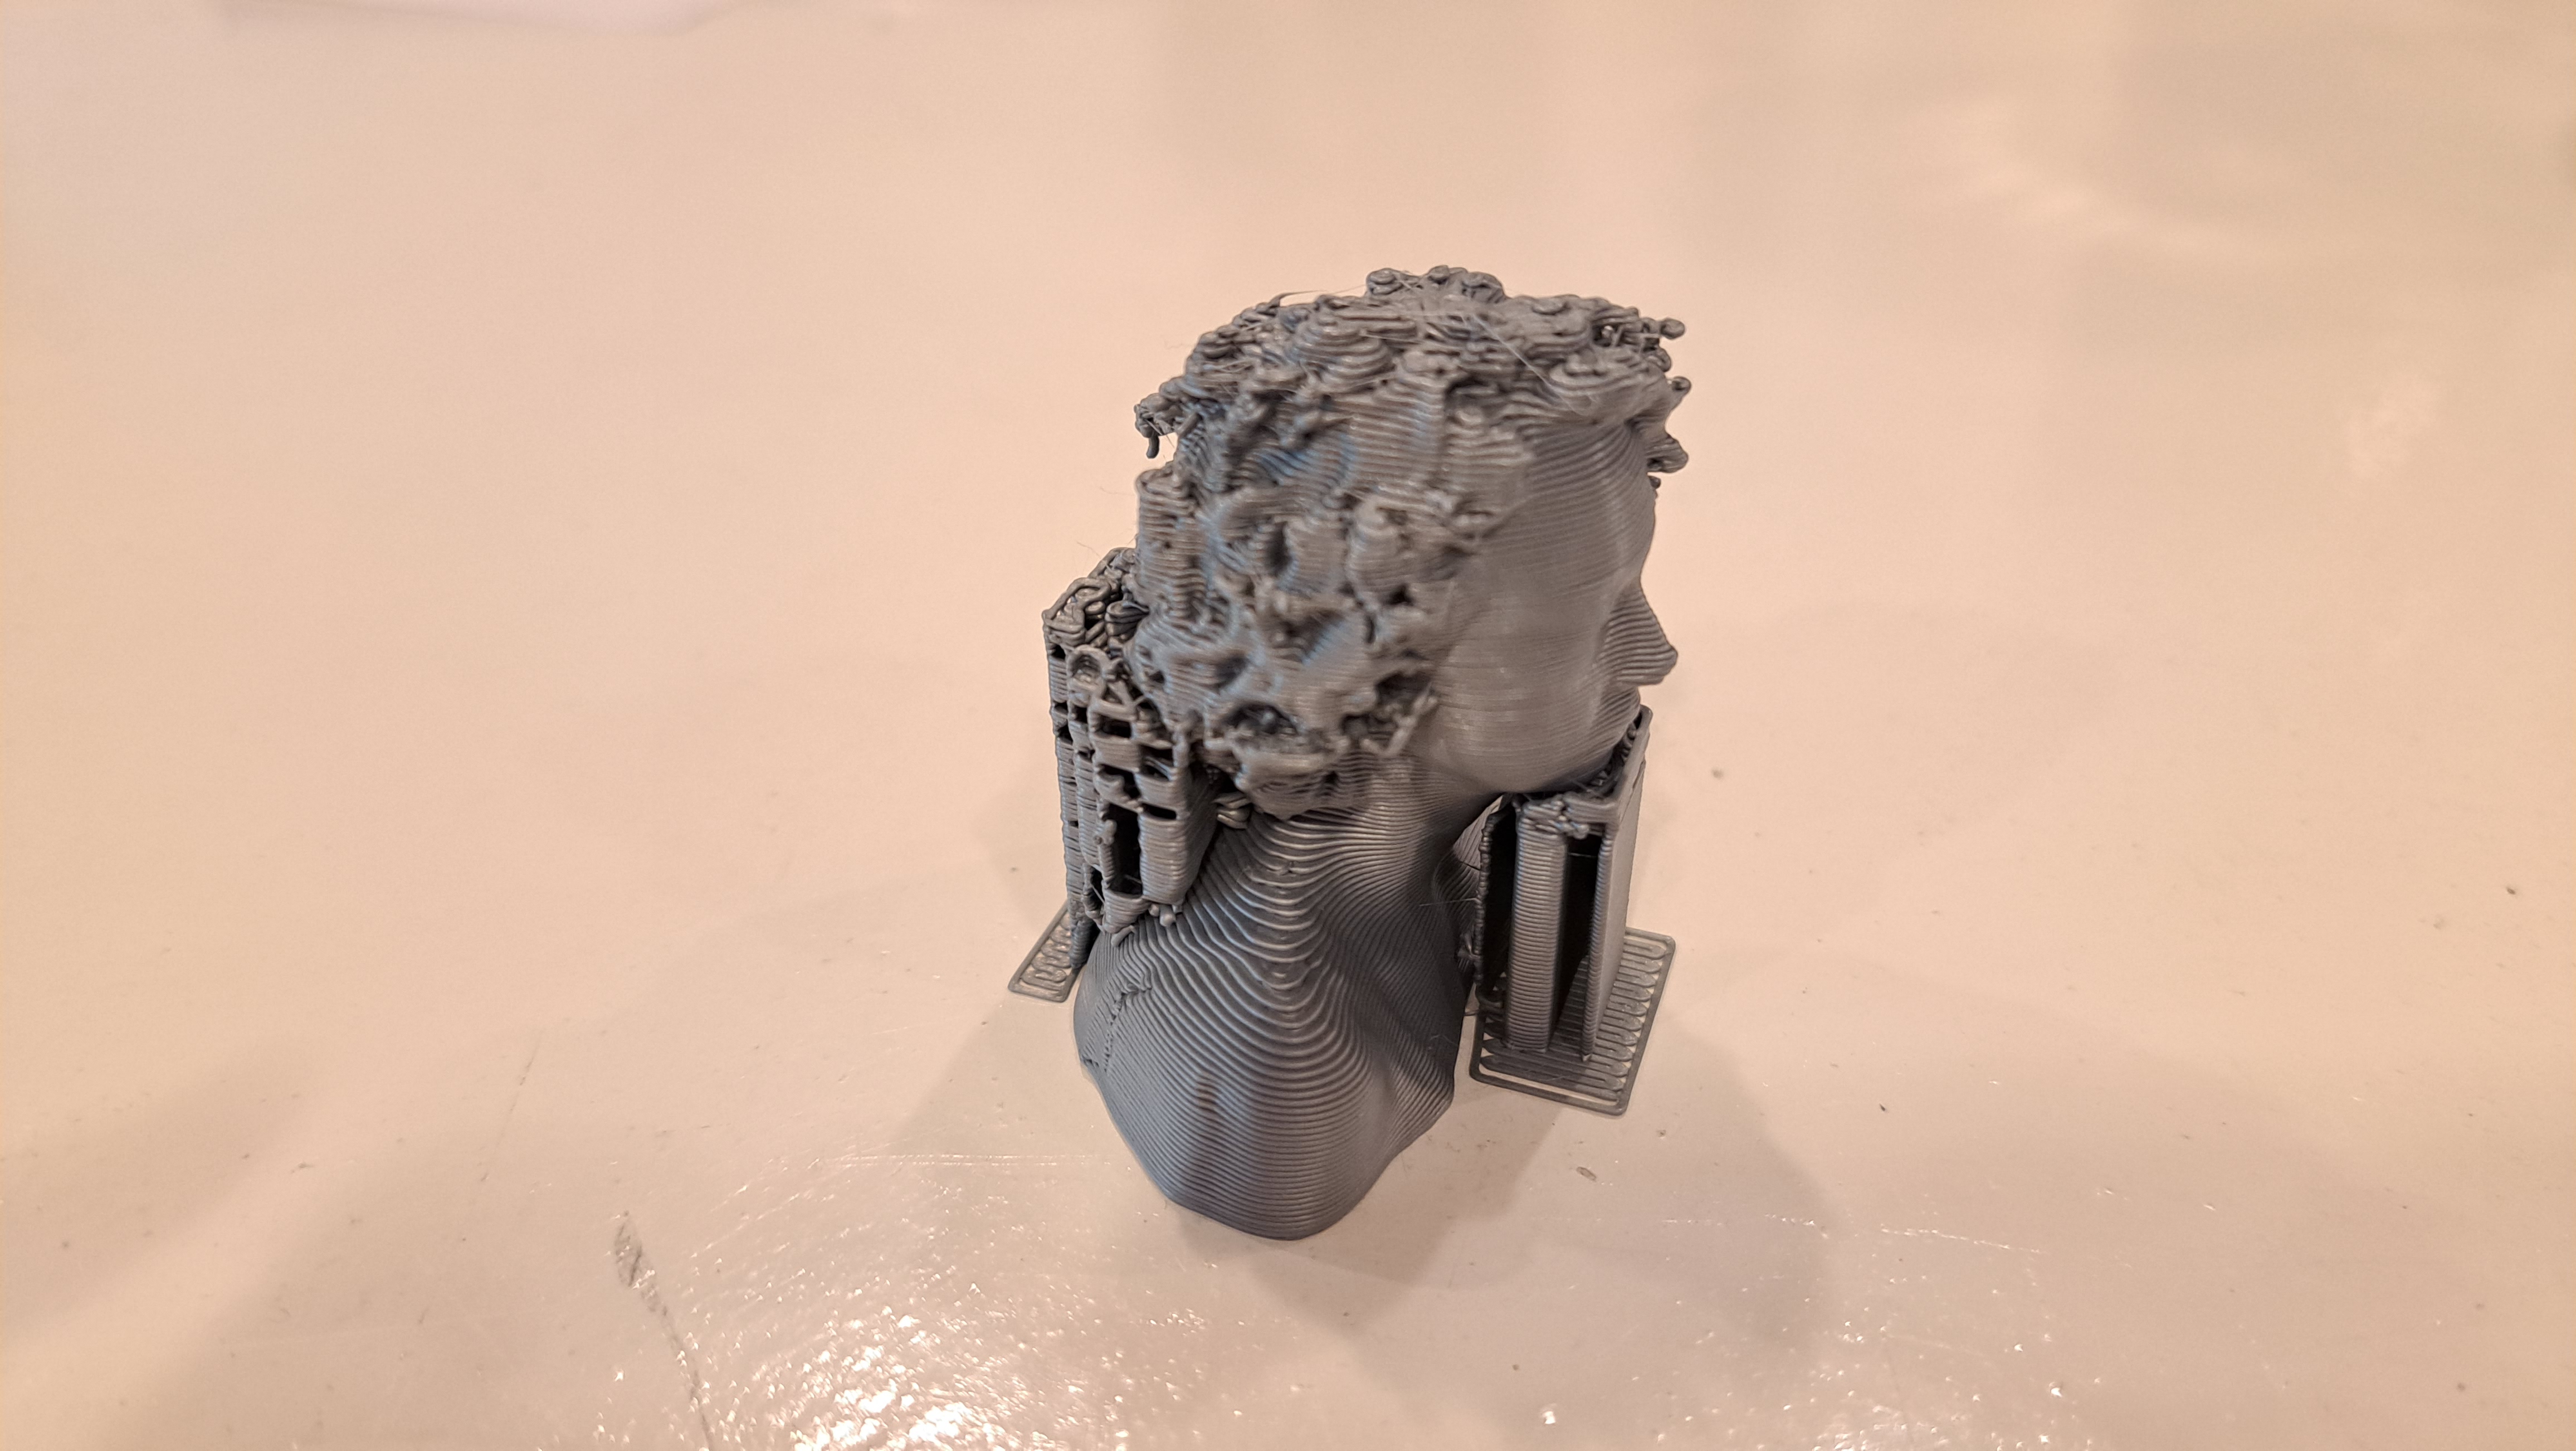
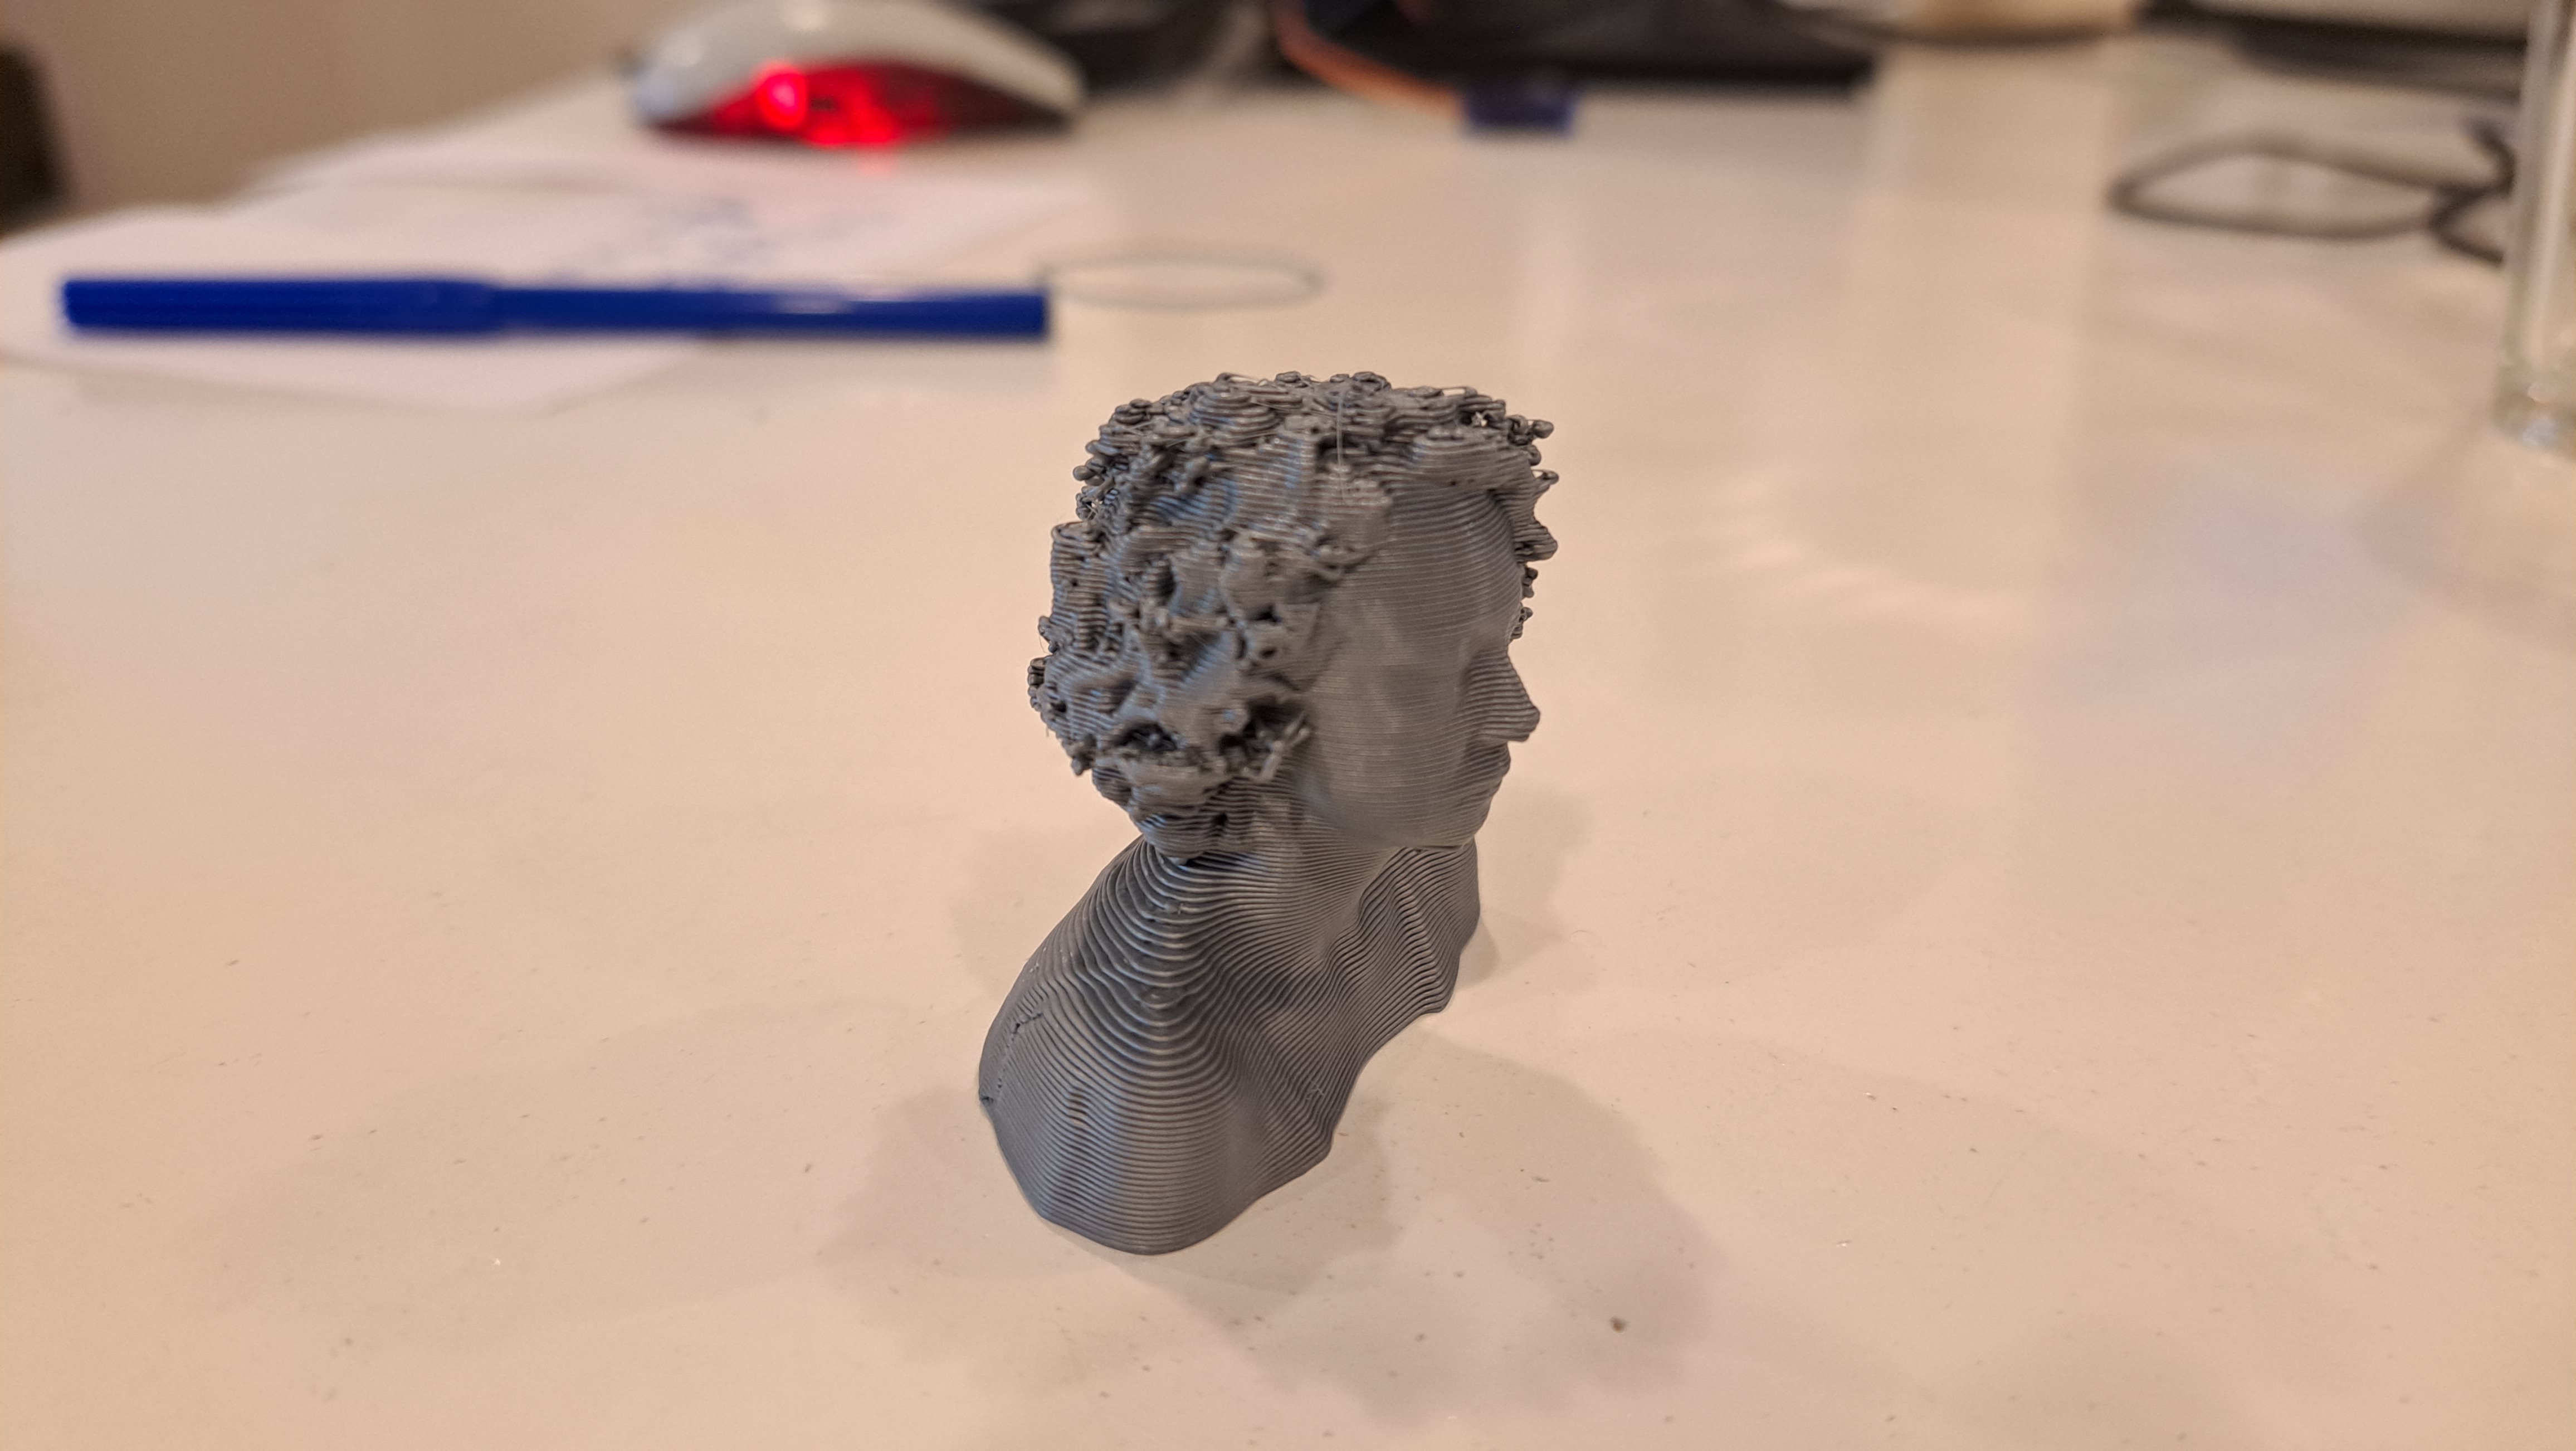
We have various 3D printers at the lab. In this guide, I used Prusa i3MK3S with a 0,6mm nozzle to print my head. You need Prusa Slicer Software to create the gcode file for the printer.
Open .obj file in Prusa Slicer.
Go to EXPERT SETTING (we will use the tools available under this setting.)
Adjust Print Settings (you can choose a preset, which affects the length of print. Of course a detailed print gives better results but it is more time comsuming. Determine your needs and choose accordingly.) In my case, I used draft printing for a quick print.
Pick the correct Filament and Printer
Infill determines how solid or hollow the inside of the model will be. The more hollow the object is, the quicker it will print and the less material you will use. However, you might need a sturdier model, then you need to choose higher infill percentage.
Adjust Scale factors or Size to make sure your digital model fits in the bed and printable volume of the 3D printer.
.png)
Rotate your model around to see if it is in contact with the printer bed. If it is not, it means that there is an object that makes your model hover above the bed. You can remedy this by CUT tool. It creates a cutting plane which you can move up and down on the z-axis. Adjust the plane visibly closer to where you want your model to contact the bed. Make sure to uncheck the keep the lower part. Then hit cut. If you modelled the object yourself, I suggest to go back to modelling program and solve the issue there. Because cutting the model without precision alters the final measurements of the printed model. In most cases, the exact dimensions are essential.
.png)
If the model is not in right side up, then use PLACE ON FACE tool to select the face which would be your base*.
.png)
If there are overhangs, which you think would need support, you can specify the places of these supports with PAINT-ON-SUPPORTS tool. Then, you need to select Support enforcers only under the Supports dropdown menu. Once your model is ready, you can hit SLICE NOW to see a preview of the printjob.
.png)
EXPORT the .gcode file and save it on a Mini SD card. You will use the SD card to trasfer your file to the printer.
.png)
Prusa i3MK3S interface is very easy to use with the knob. Rotate the knob to scroll through the options and click on the knob to select one. There is a Mini SD card slot to the left of the box.
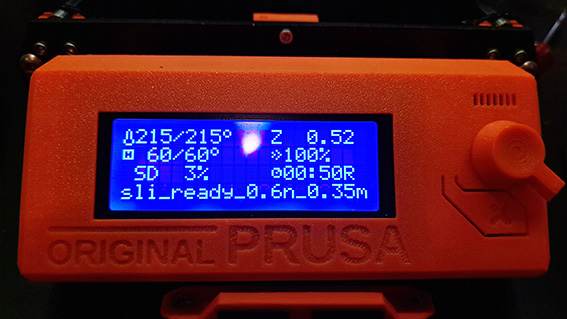
Preheat > PLA filament
Load filament
Start print
Troubleshooting: The first few layers of printing is very important. You need to observe this part closely to see if the job starts without problems.
- You might observe there is extra material at the nozzle. You need to remove this material.
- The material might not be sticking to the bed. One of the reasons for this is the bed height. Adjust bed height with enter here.
