Laser Cutting with BRM Lasercutter

Machine: BRM1612
Software: Lightburn
We have a BRM Original 1612 lasercutter at the lab, which runs with Lightburn software. The max. work area of the lasercutter is 1537*1137 mm.
For this tutorial, I did not have much time to prepare a design to cut. Therefore, I modelled a truncated icosahedron in Rhinoceros, whose native file type extension is 3DM. I exported the model as an STL file. I opened the STL file in Slicer for Fusion and prepared an unfolded cut file with the extension DXF.

Measure the thickness of your material.
Turn on the lasercutter by turning the key at number 1 from OFF to ON and then pressing button number 2 on the Operation Board.

Open the glass front lid with two hands and place your material. Adjust the z-axis of the machine over the material by placing the wooden block on top. Unscew the bracket seen in number 1 and push the laser head down as seen in number 2, then screw the bracket back. Remove the wooden block.

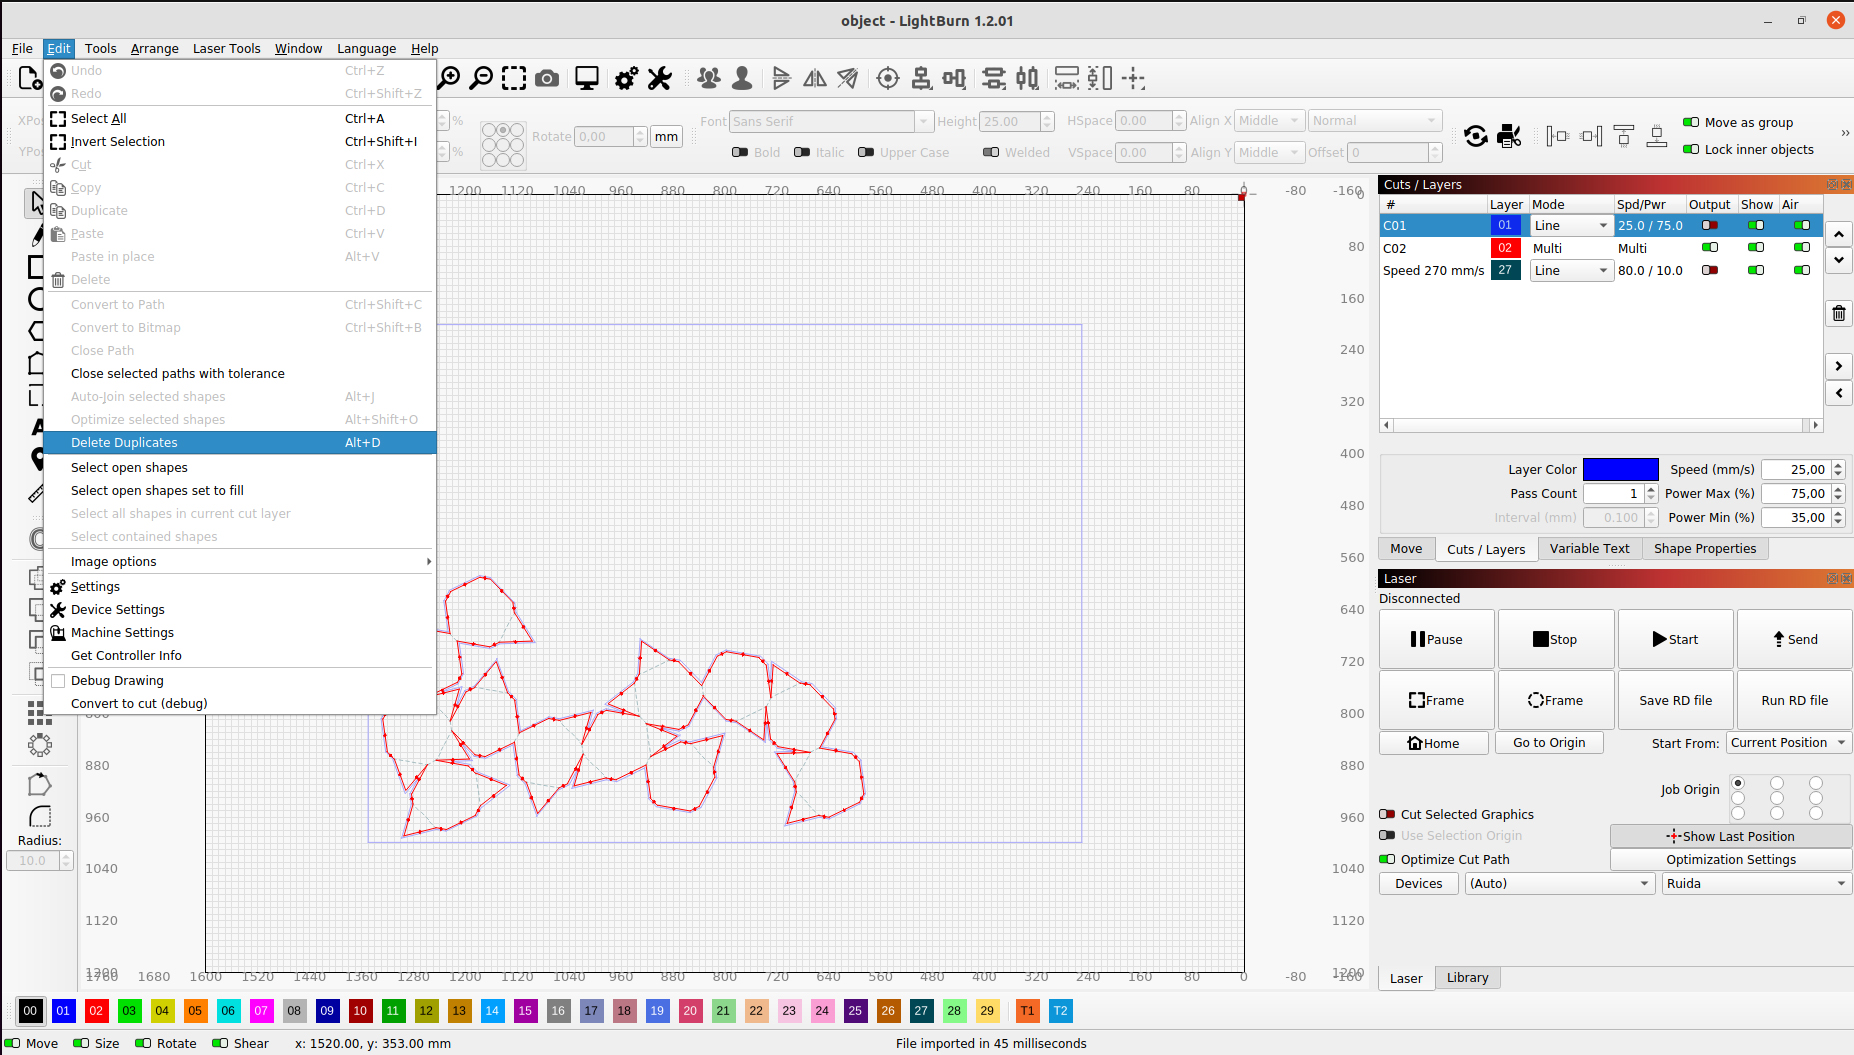
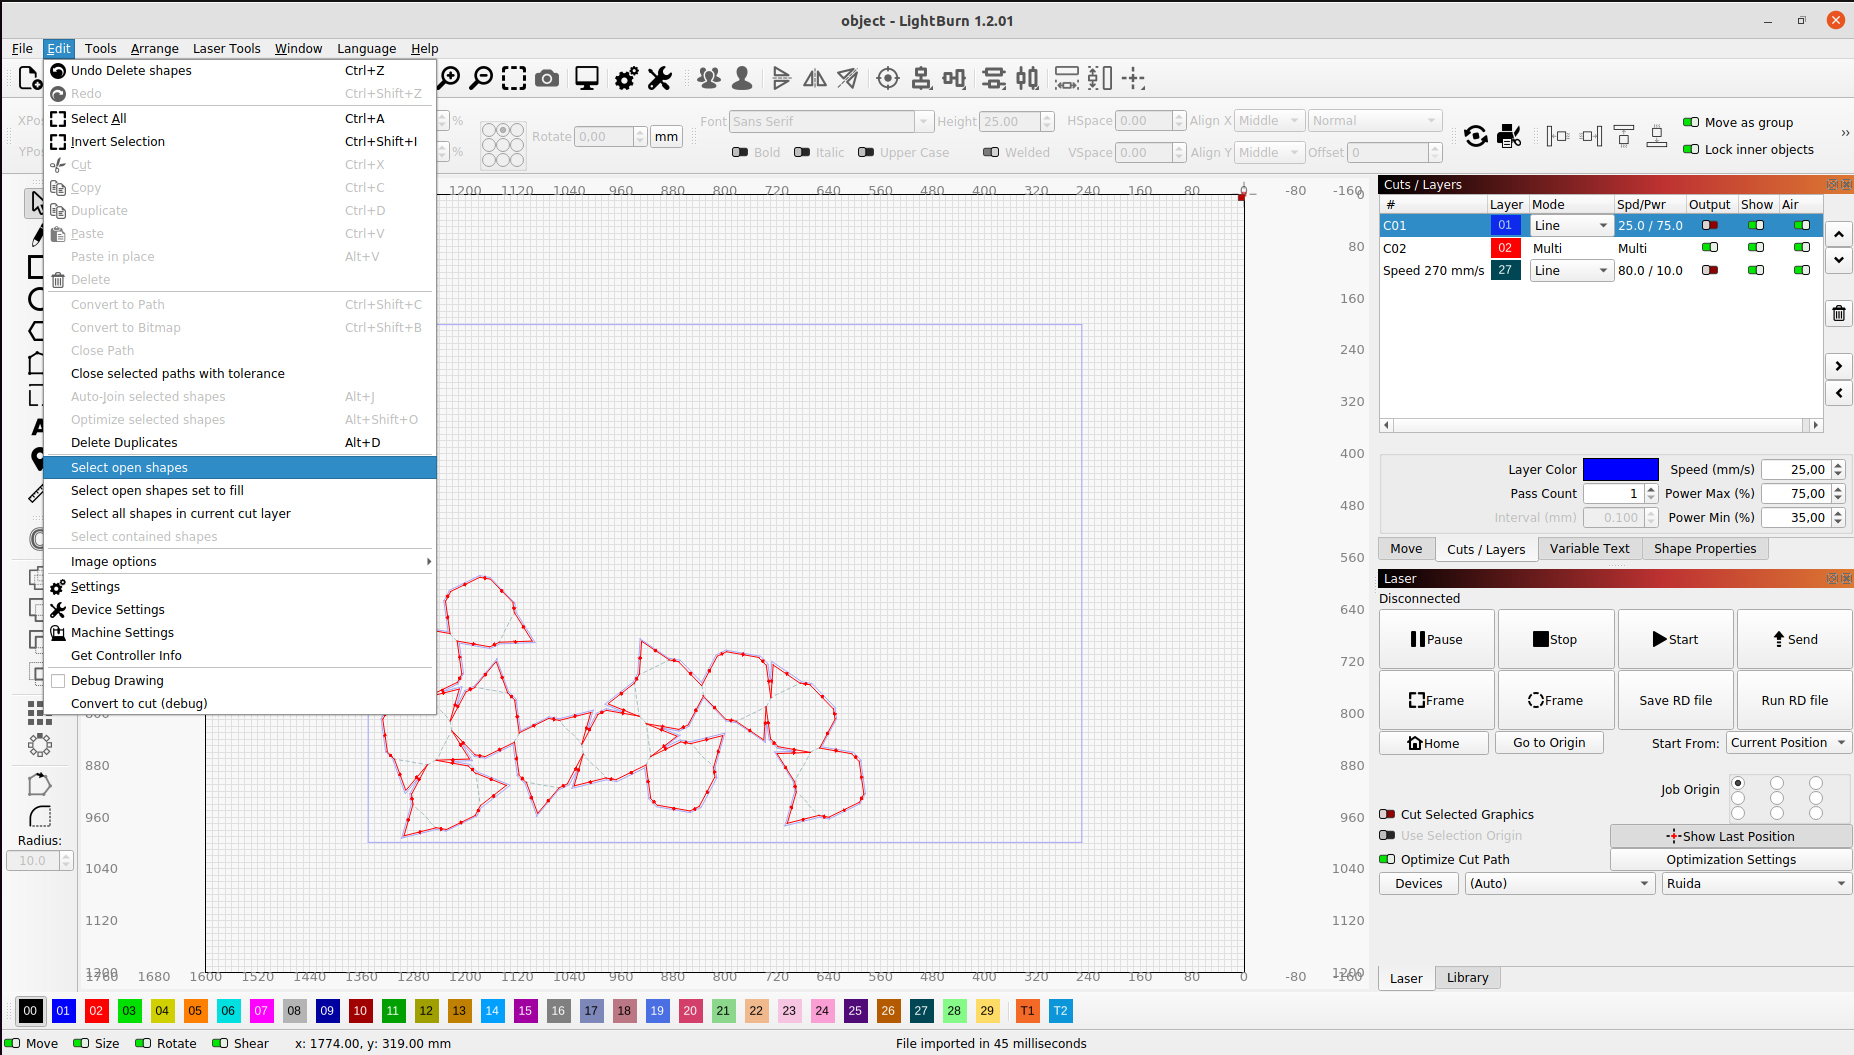
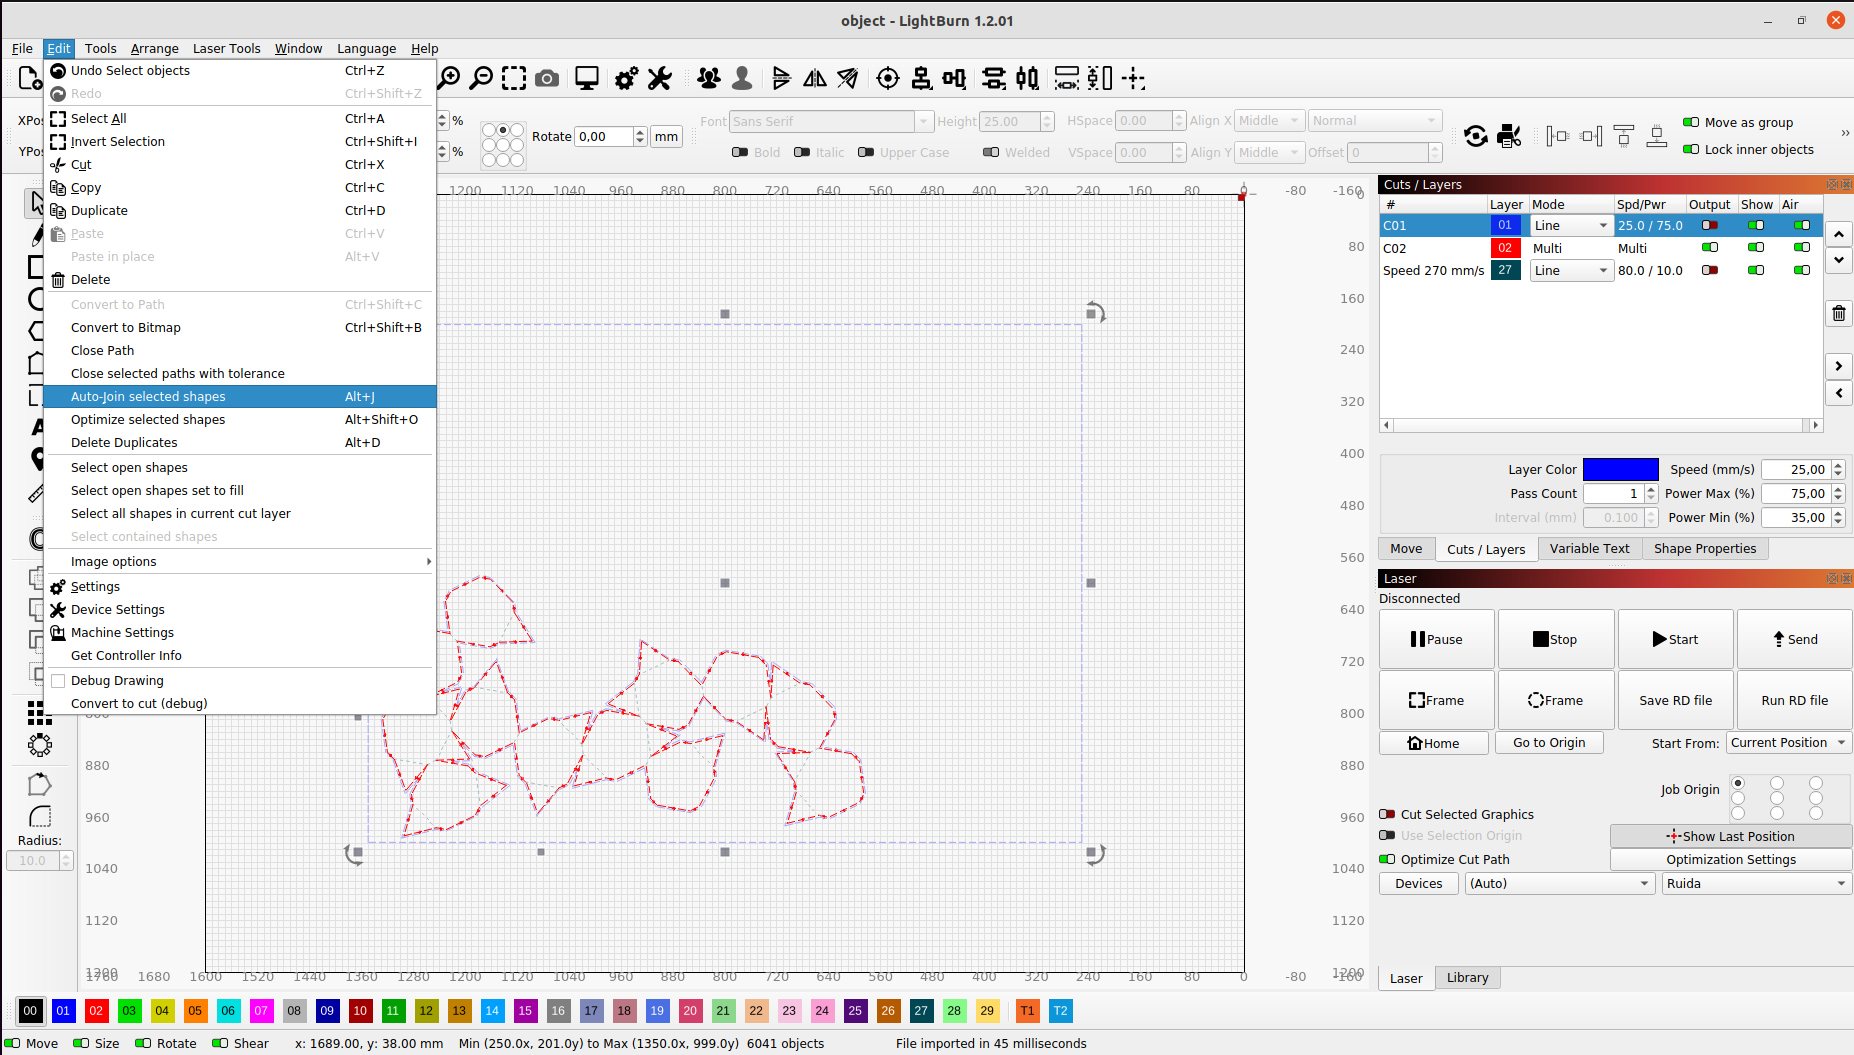
Open your file in Lightburn. Firstly get rid of all the duplicate lines and then close all open shapes.
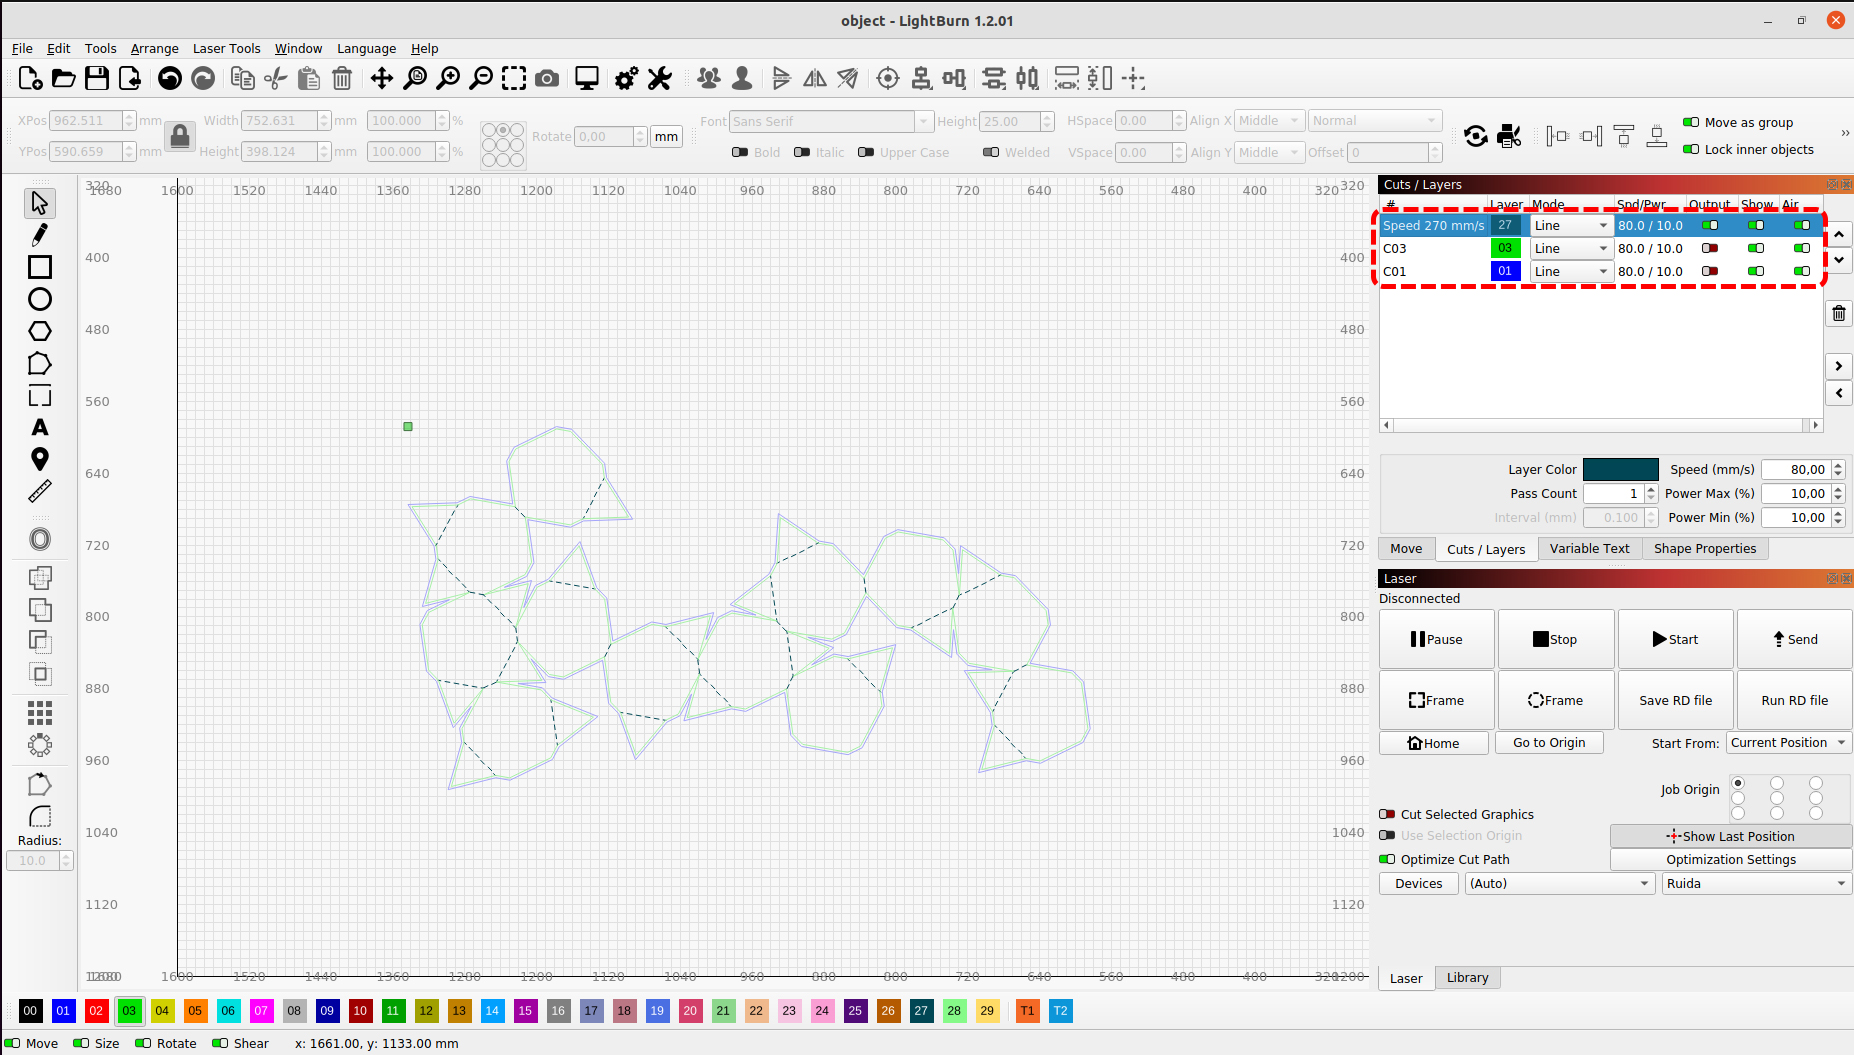
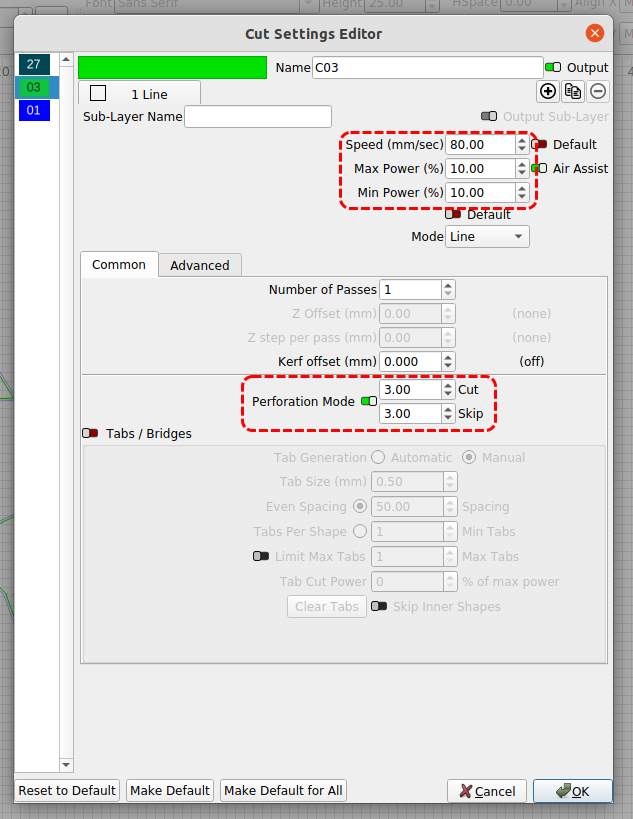
Adjust the speed and power values of each layer by clicking on the spd/pwr values next to the corresponding layer. Make sure to turn on OUTPUT for only the layer you want to cut. You can also make dashed cuts on continuous lines.
Press the LASER HEAD SWITCH on the Operation Board and plug the fume extractor with hepa filter in the socket.
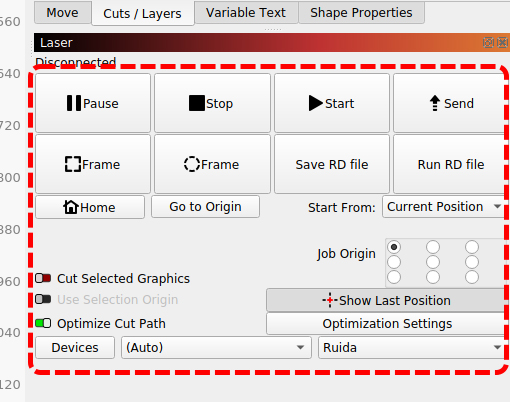
To go to where you want the lasercutting start, press go to origin and then move the head manually by pressing the arrow buttons on the Operation Board. Hit Rectangular Frame or Circular Frame to see the laserhead draw outline of the job on the material, observe if the outline is within the material surface. Press START to send the cutting job to the machine. NEVER LEAVE THE MACHINE UNATTENDED WHILE A JOB IS IN PROGRESS
When the job is finished, wait for extractor to work its magic and suck as much smoke as possible, especially important for plastic-based sheet materials.

Turn the machine off in reverse order of how you opened it.
Note 1: Look at the material board right next to the machine and select the material and thickness you will use. If the material or the thickness is not available there, pick the closest one and make an educated guess on power and speed values. Once you enter these values, make a trial cut to see if you can achieve the desired results.
Note 2: When you cut outlines of your objects, they can fall on the bed or they can move around in the bed if they are really small. So it is always a good idea to first engrave/etch and then cut.