Personal Box

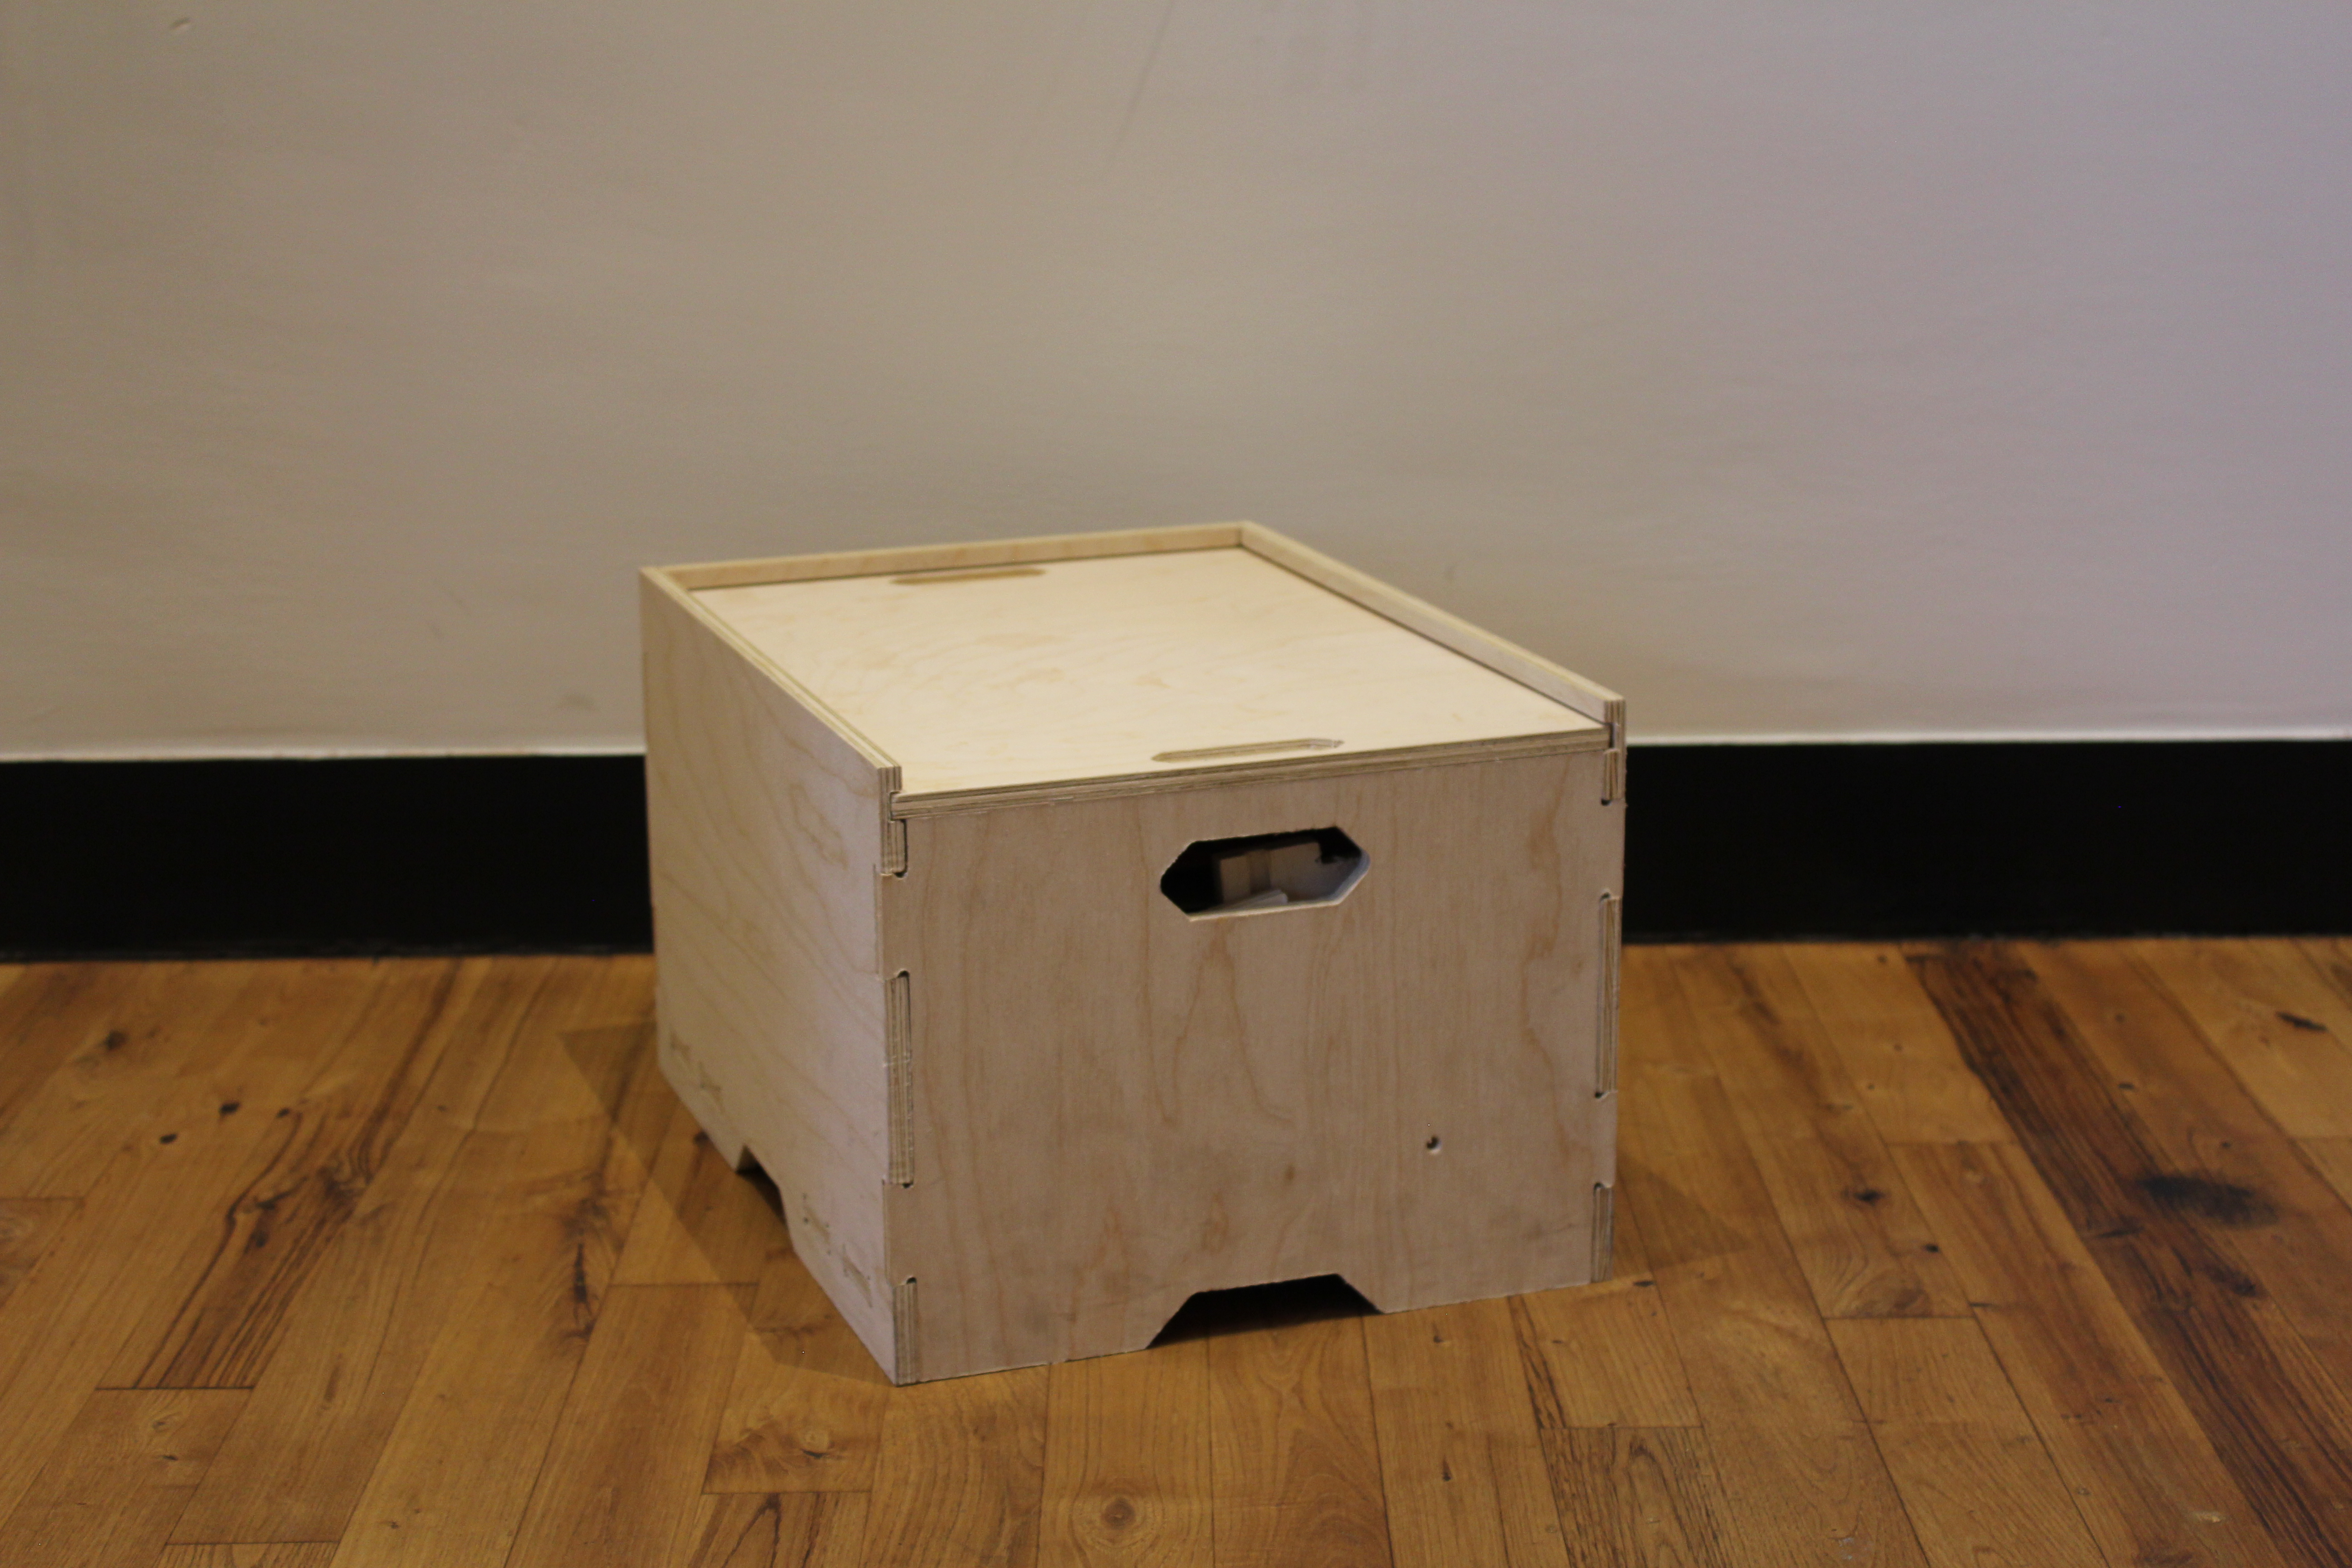
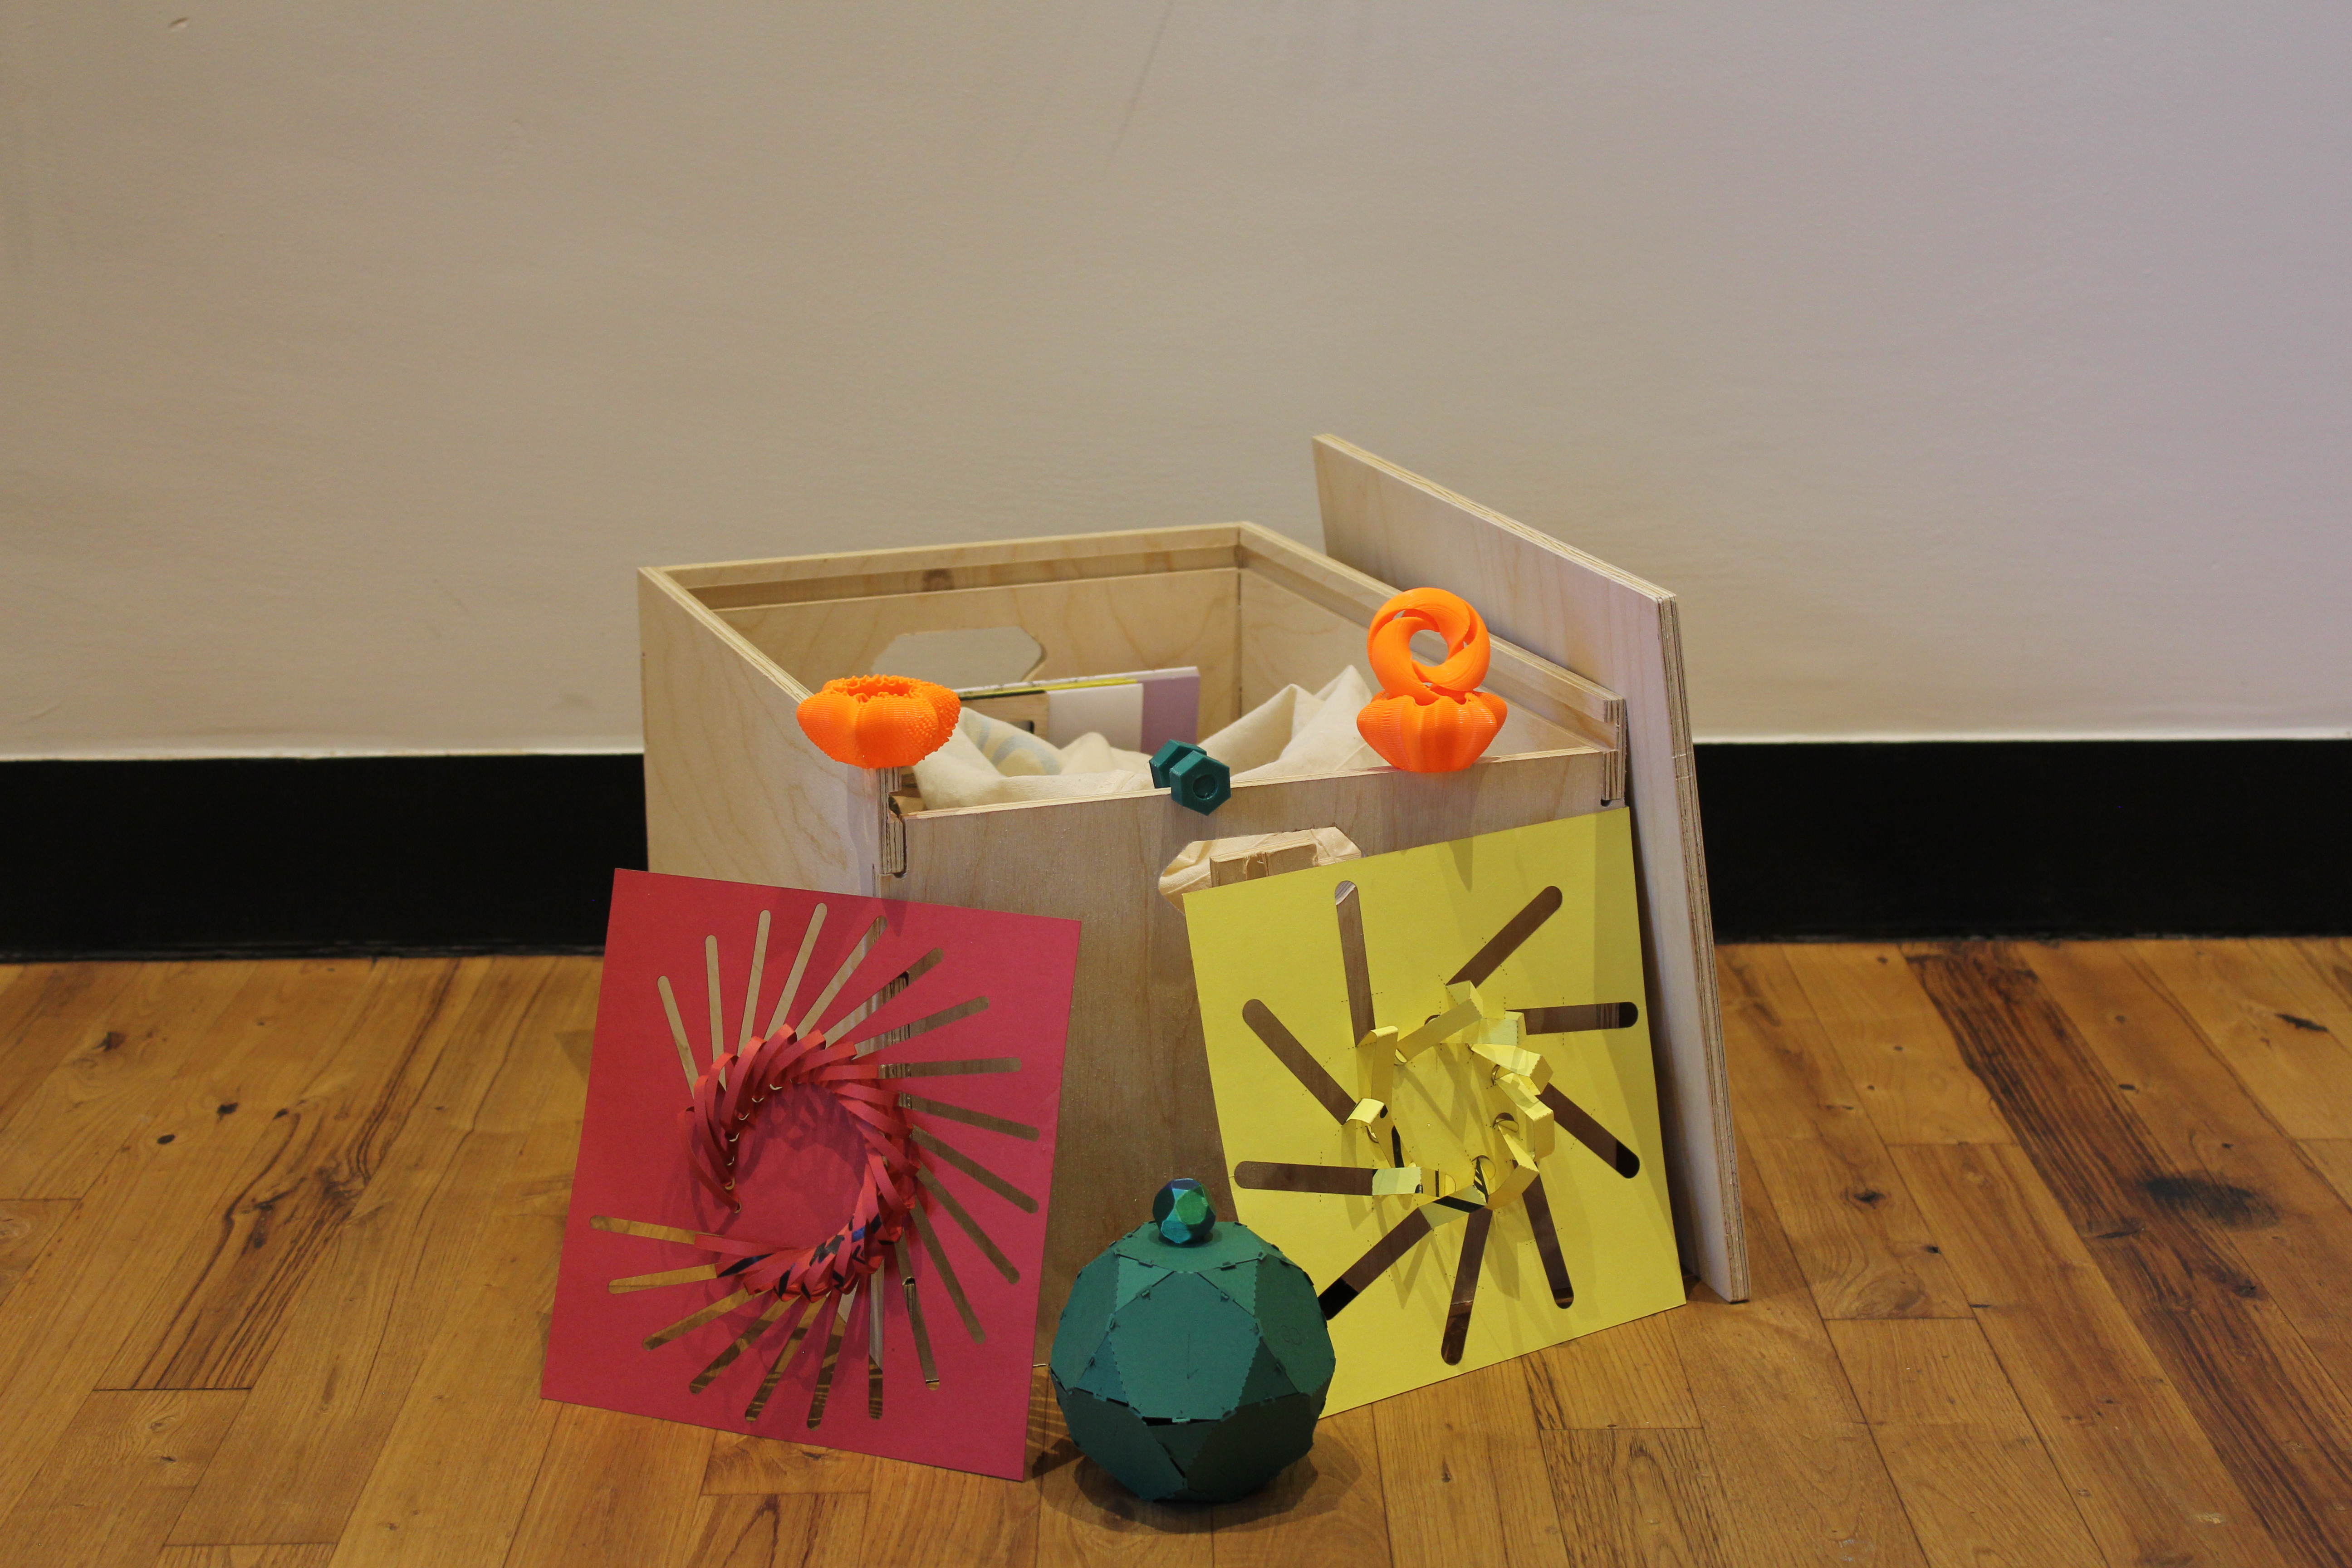
The personal box is a container to store personal items created at the FABLAB.
The box is designed in Rhinoceros and milled on ShopBot.
Design
The design of the box has following features:
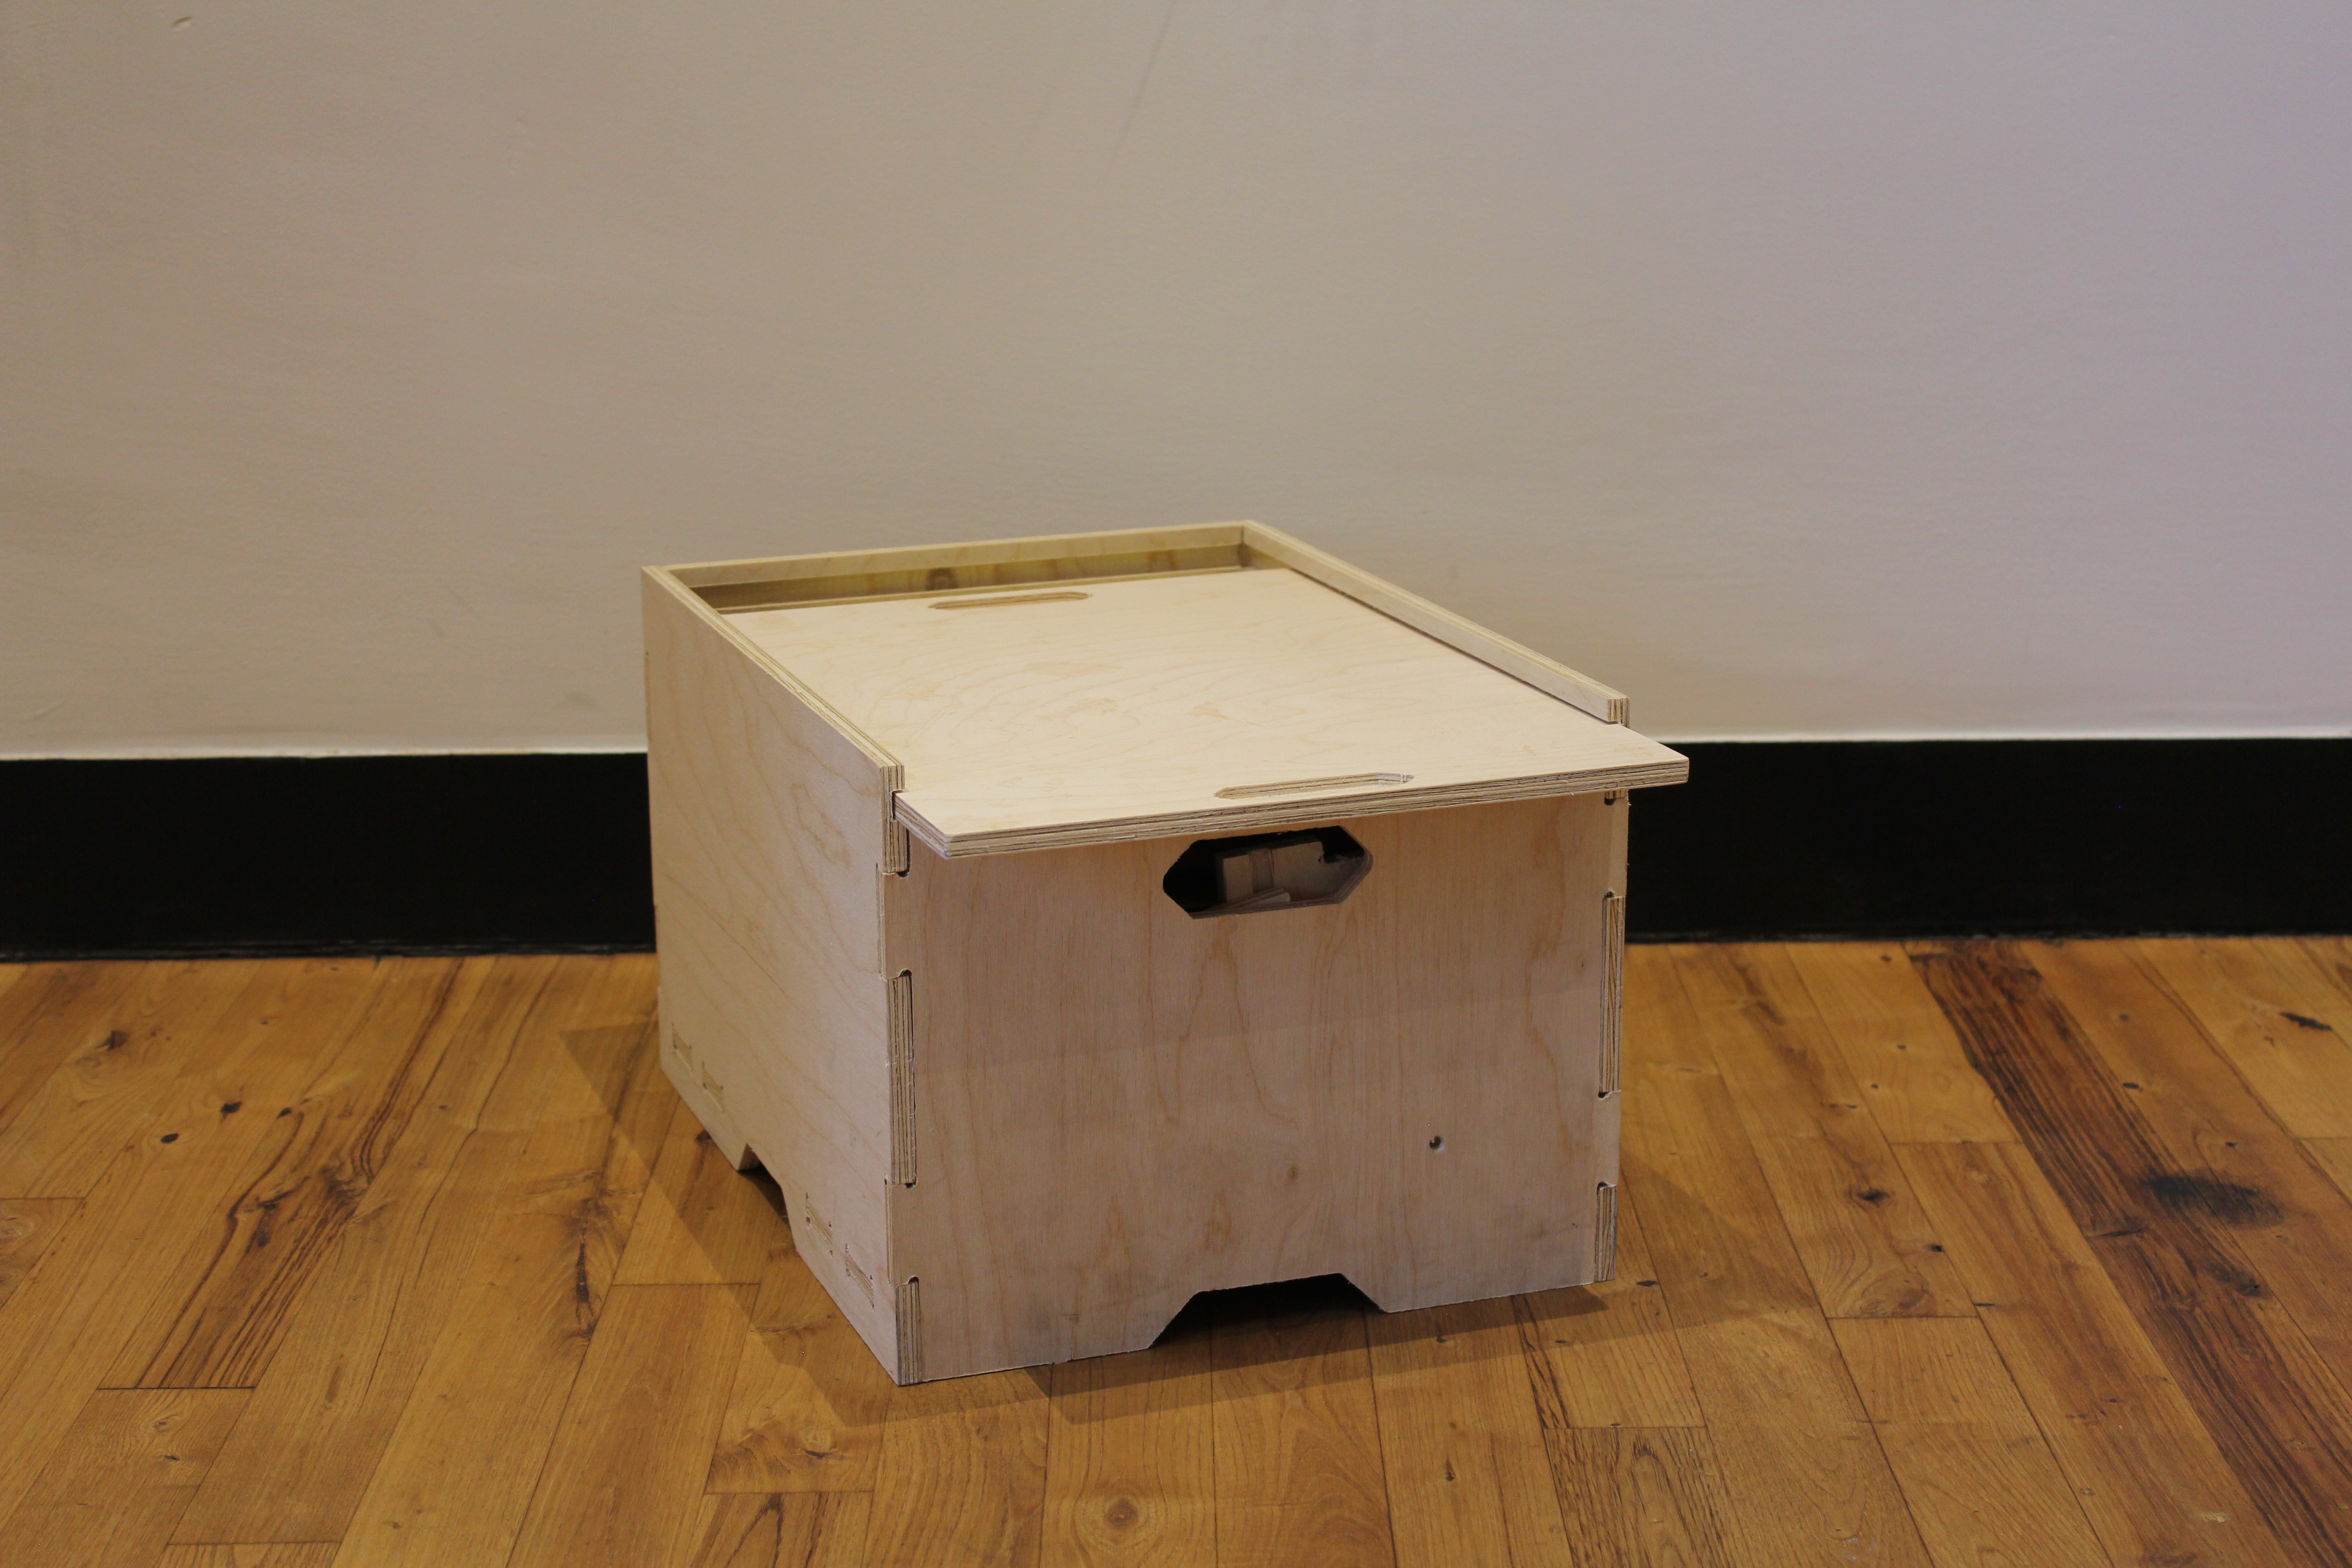
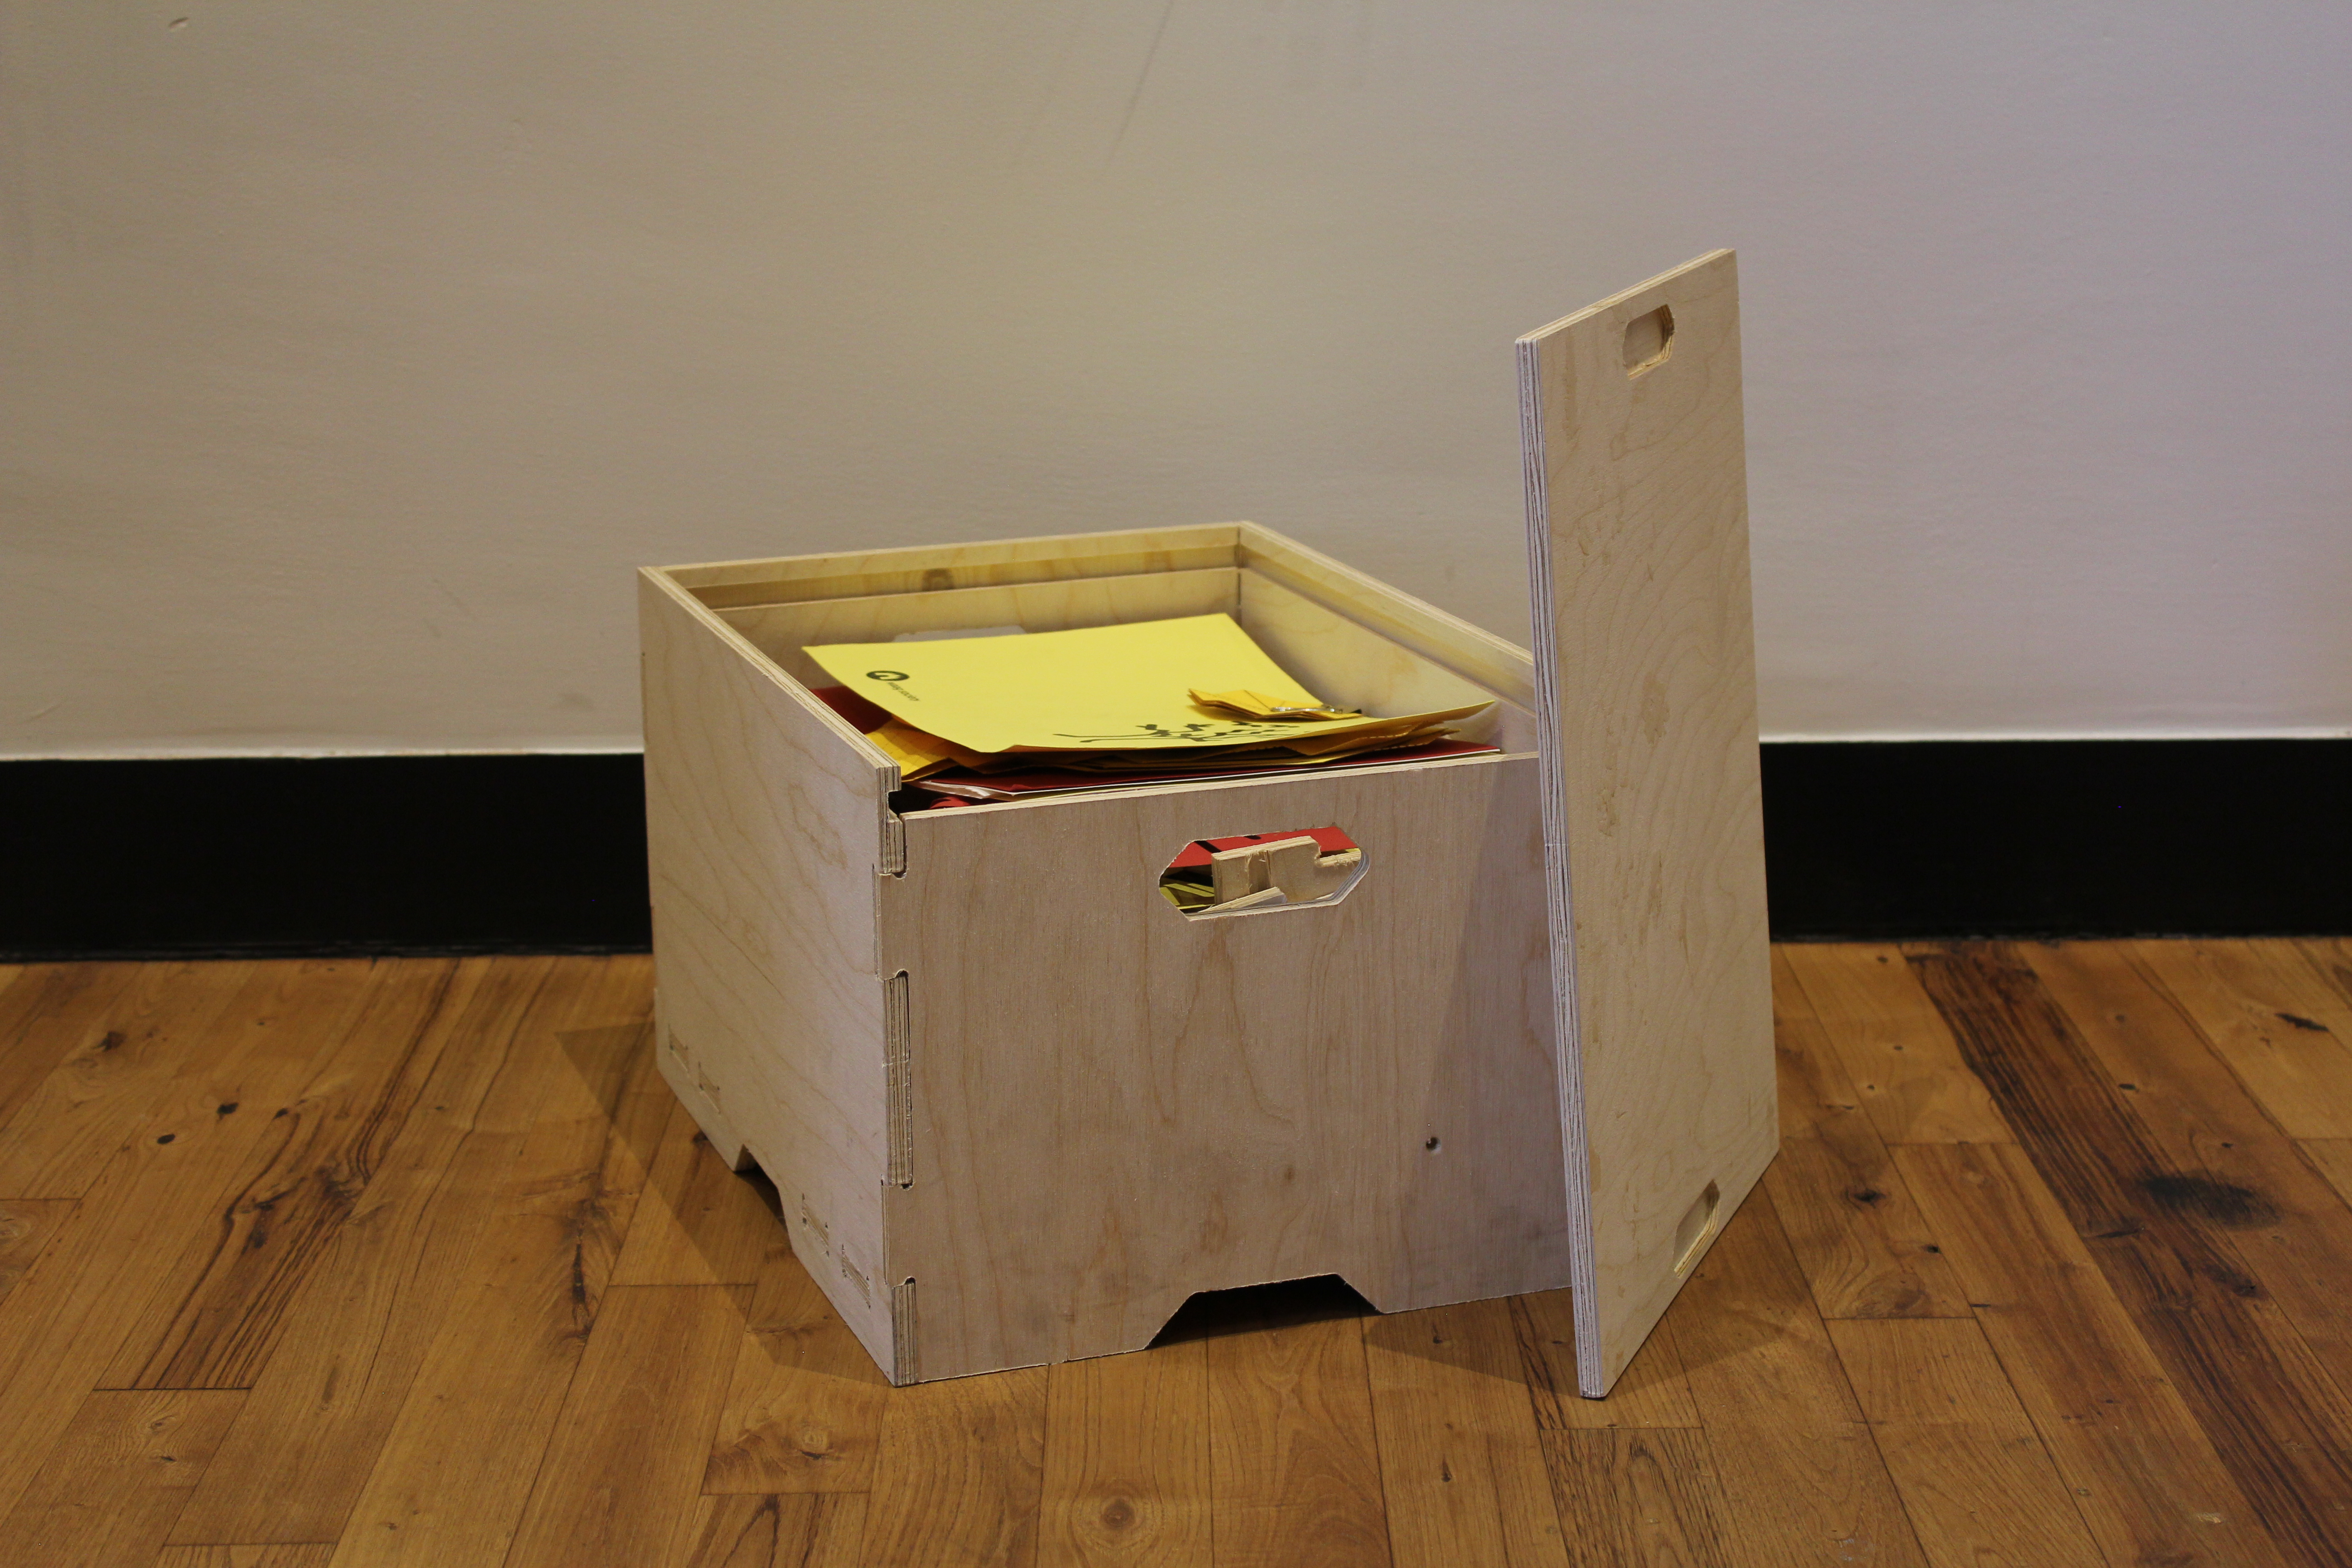
- A sliding lid to easily access the box contents. It allows for one-handed use as well as easily closing the box back.
- Hollowed out pockets for handles, which make the box easy to carry.
- Raised bottom to keep the contents safe in case there is liquid leakage around the box.
- Press fit and sliding parts so that no glue or nails are needed for the assembly.

The box is designed to be milled with 10mm thick wood in Rhinoceros. The assembly stages can be seen in the following animation:

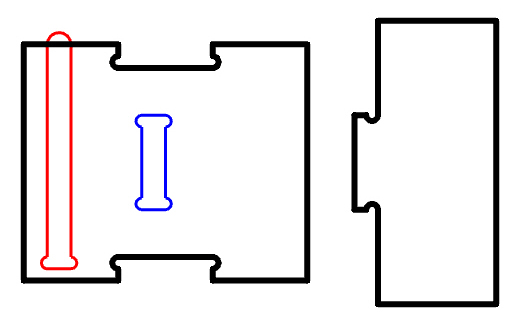
To be able to mill the design, you need to have flat drawings of parts. The drawing is created with three different milling toolpath jobs in mind. The pockets will be milled until 5mm thickness and will have the bit offset on the inside. The inner profiles will be cut through and will have inside offsets. The outer profiles will be cut through again but will have outside offsets.

The following test pieces combine all the sliding and press fit details as a partial model to test out the dimensions and tolerances of the milling job.
The Rhinoceros drawings are then exported as .dxf file to open in VCarve Pro.
Fabrication
I found a used 10mm thick plywood sheet of dimensions 700mm by 1200mm with glue residue and drilled holes on it. Since the irregularities did not interfere with the overall design, I wanted to reuse this plywood. I sanded the glue residue and checked the material for leftover nails or screws (it is really important that there is no metal on the sheet. If the drill bit of the ShopBot hits a metal part there is a risk of metal shavings reaching the wood dust collection bag and starting fire.) before laying it on the milling bed.
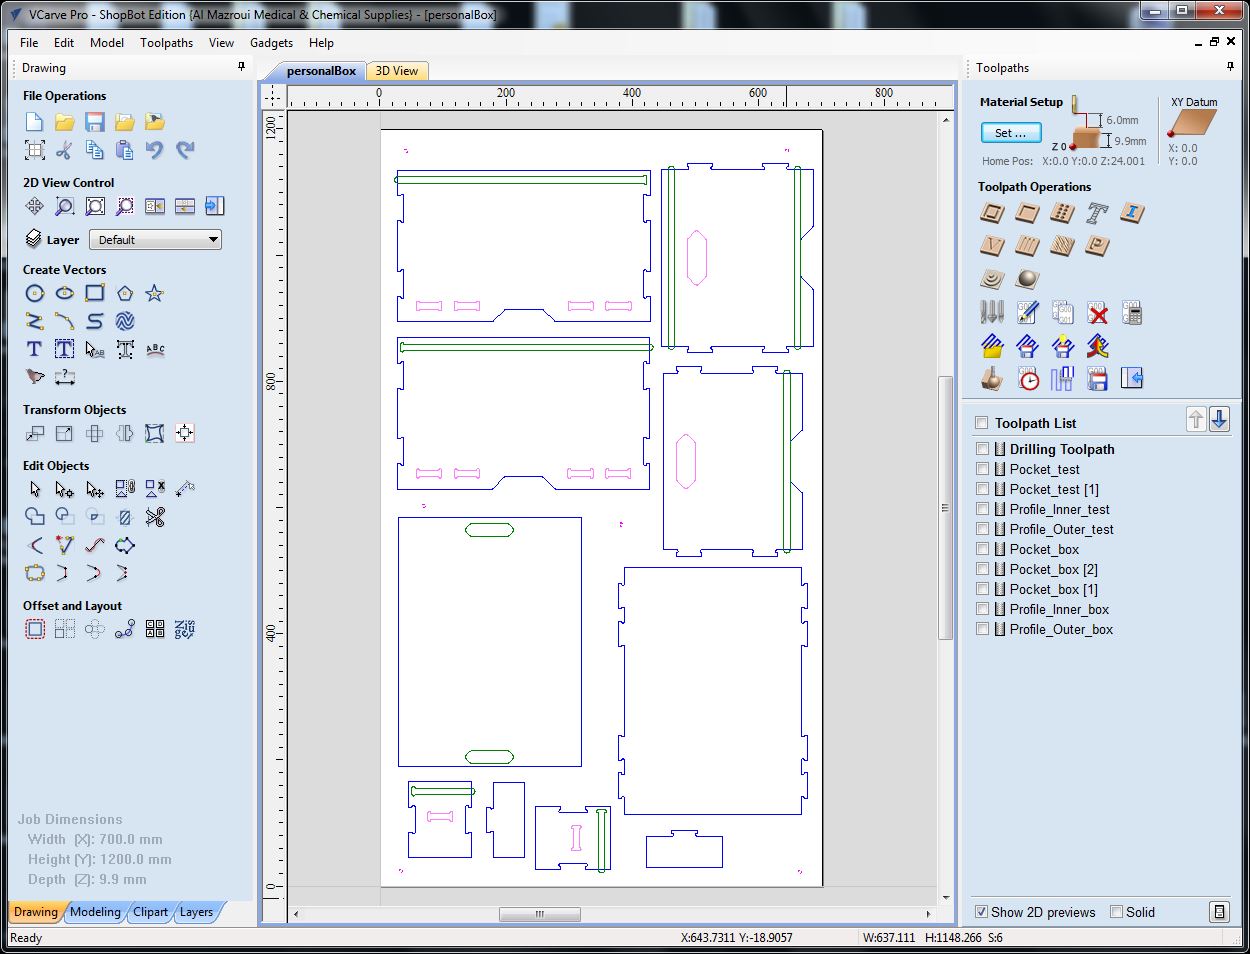
In VCarve Pro, I created separate toolpaths for drilling, pockets, inner profiles and outer profiles. I cut the drilling toolpath and fixed the plywood sheet on the milling bed with Woodies. I sent the test part toolpaths to the machine without allowances.
About Allowances
In a digital world, the parts do not need any tolerance to fit together. The faces of the parts can be flush and they do not create a problem. In the physical world, however, the material frictions, irregularities and the function of the part require creating allowances. Allowance is a planned deviation between an exact dimension and an intended final dimension.
In the test parts, no detail was able to slide or fit into each other as expected. However, I was able to calculate the required allowances based on how much the final dimensions (the dimensions of the fabricated parts) deviated from exact dimensions (the dimensions in the digital model). Then, I created toolpaths for the sliding lid, sliding bottom panel and press fit parts separately, giving each an allowance offset. The Sliding lid and bottom panel pockets have different allowances beacuse I want the bottom panel to slide in with force and stay in its place afterwards, whereas, I wanted the sliding lid to have some room around it so it can slide in and out without force during use. I further separated inner pocket toolpaths according to their raster direction. You want the rastering direction along the longest side of the shapes.
(All the images are clickable if you want to see the values and specifics of each toolpath)
The material definition in VCarve Pro:
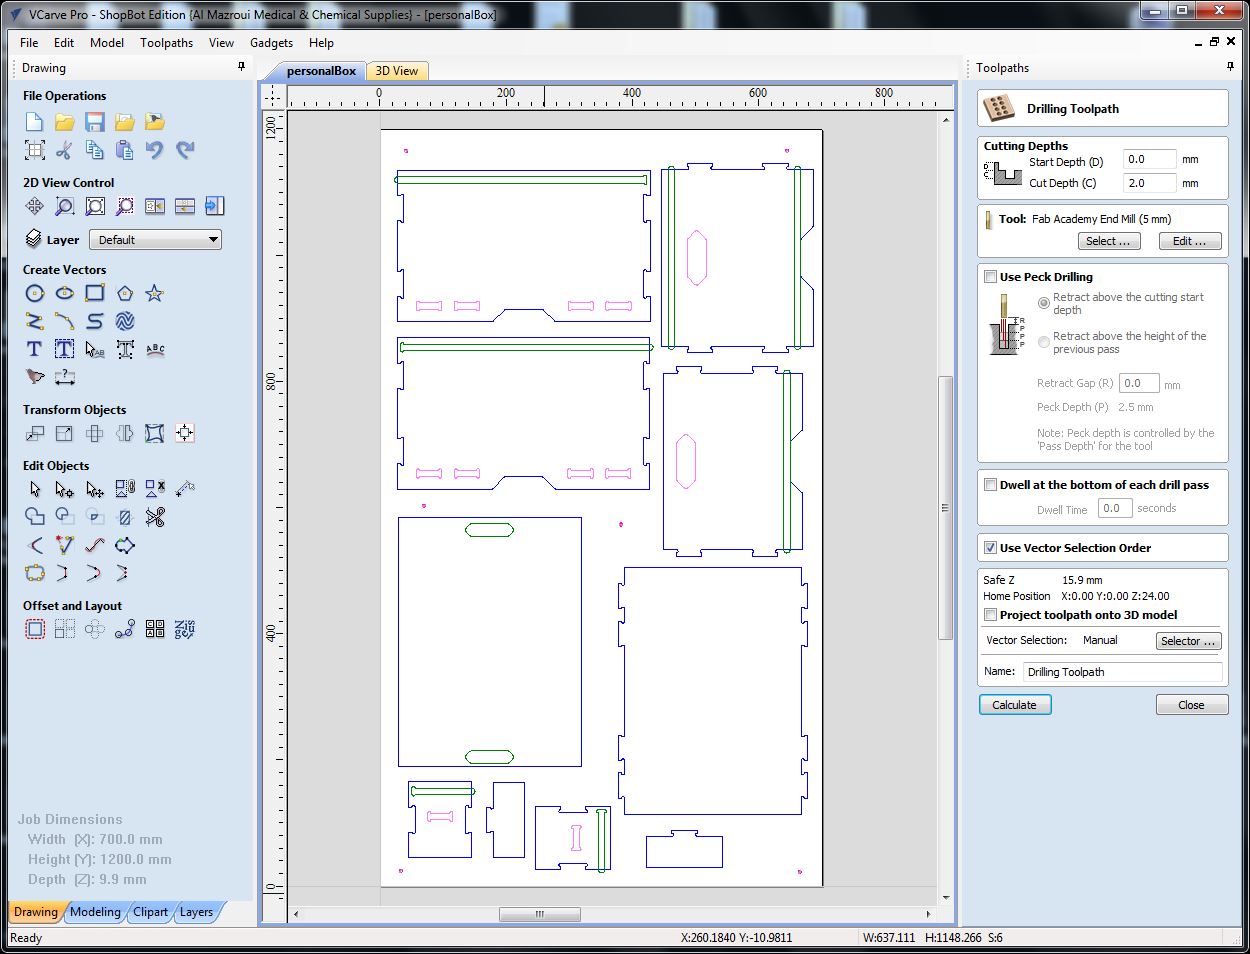
Drilling toolpath for locating the places of screws:
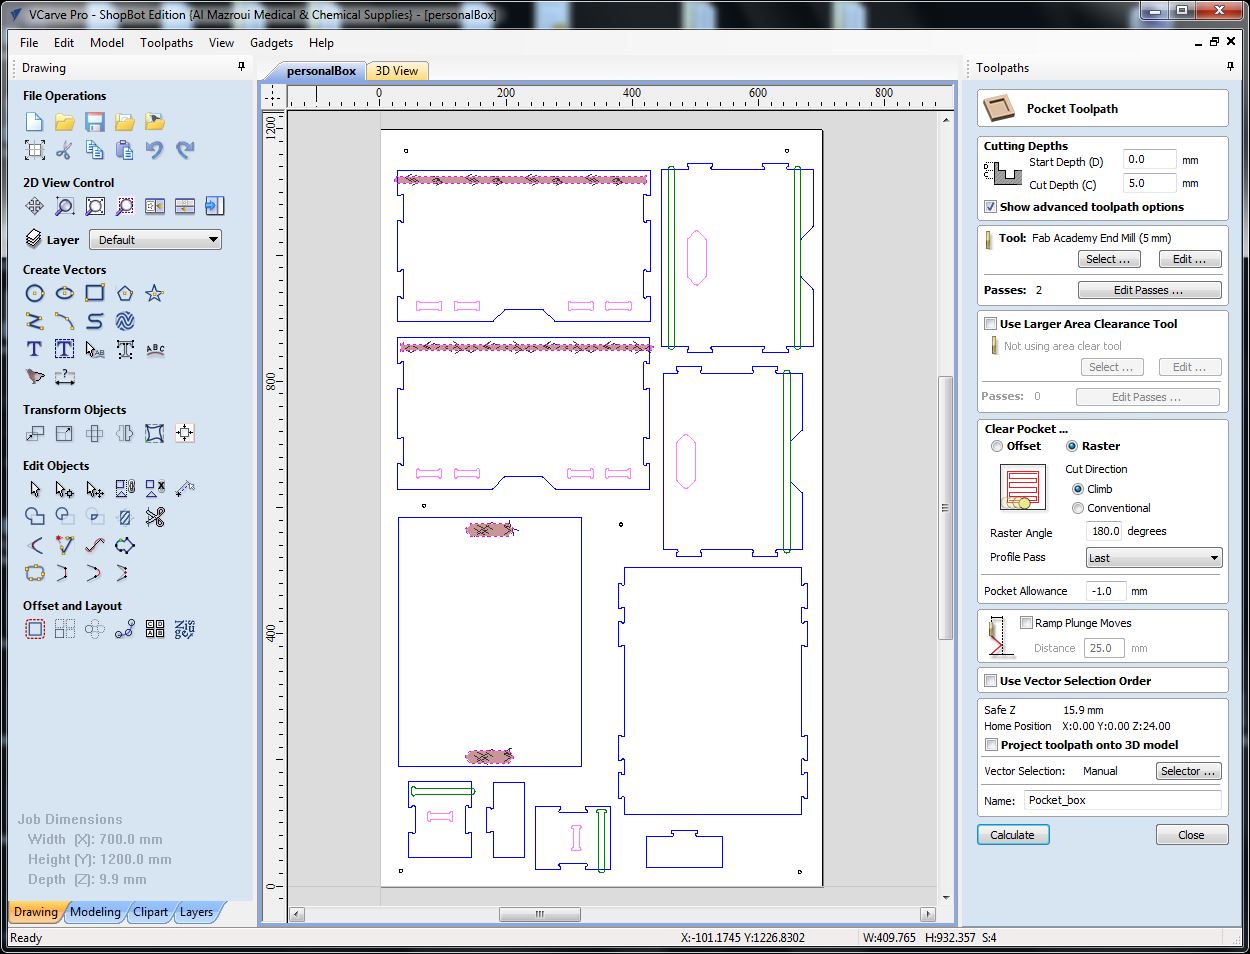
Pocket toolpath for sliding lid part and lid handles with raster angle 180° and allowance of -1.00mm:
Pocket toolpath for sliding lid part with raster angle 90° and allowance of -1.0mm:

Pocket toolpath for sliding bottom part with raster angle 90° and allowance of -0.5mm:

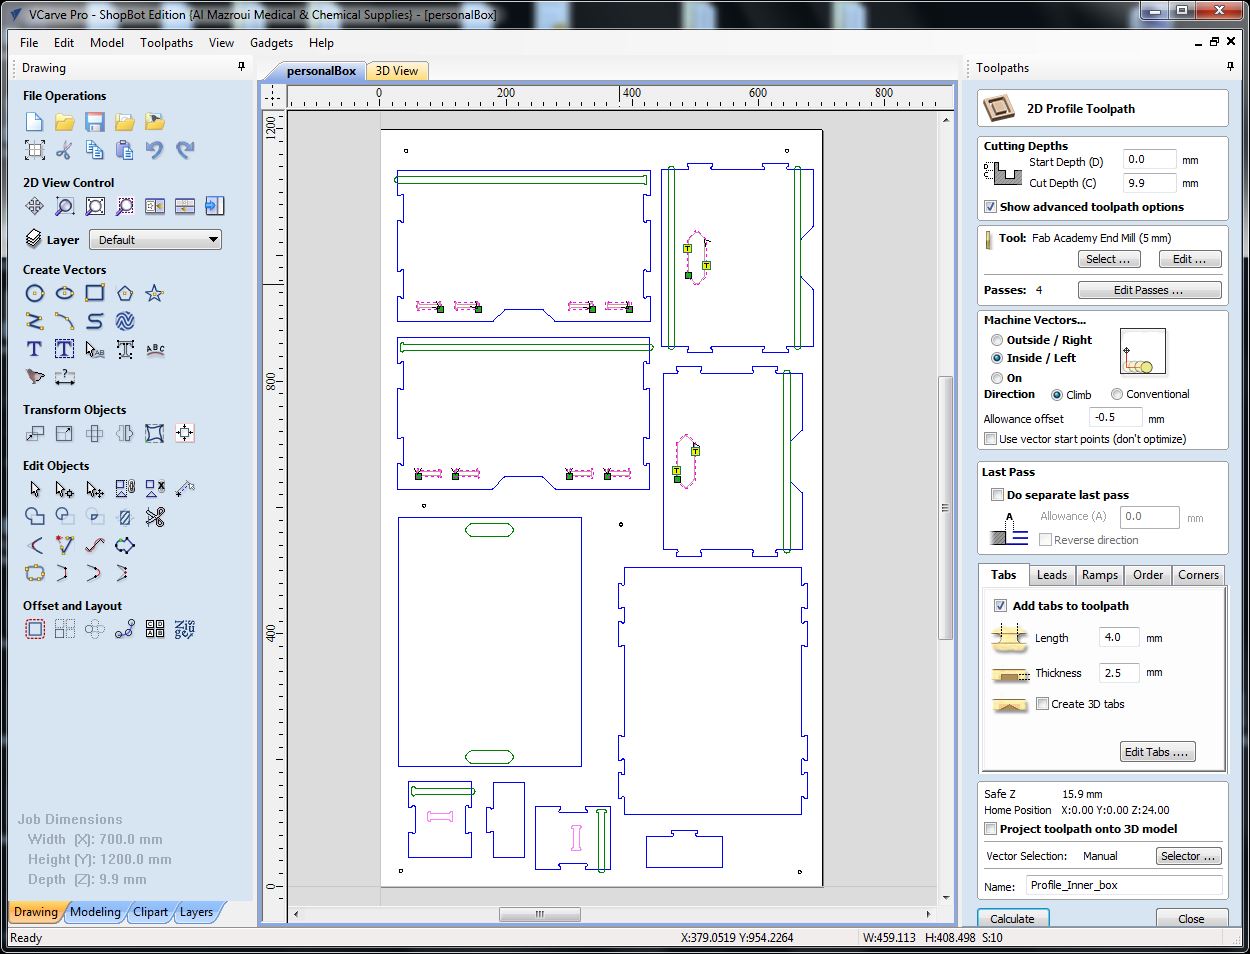
Inner profile toolpath with inside vectors and allowance of -0.5mm:
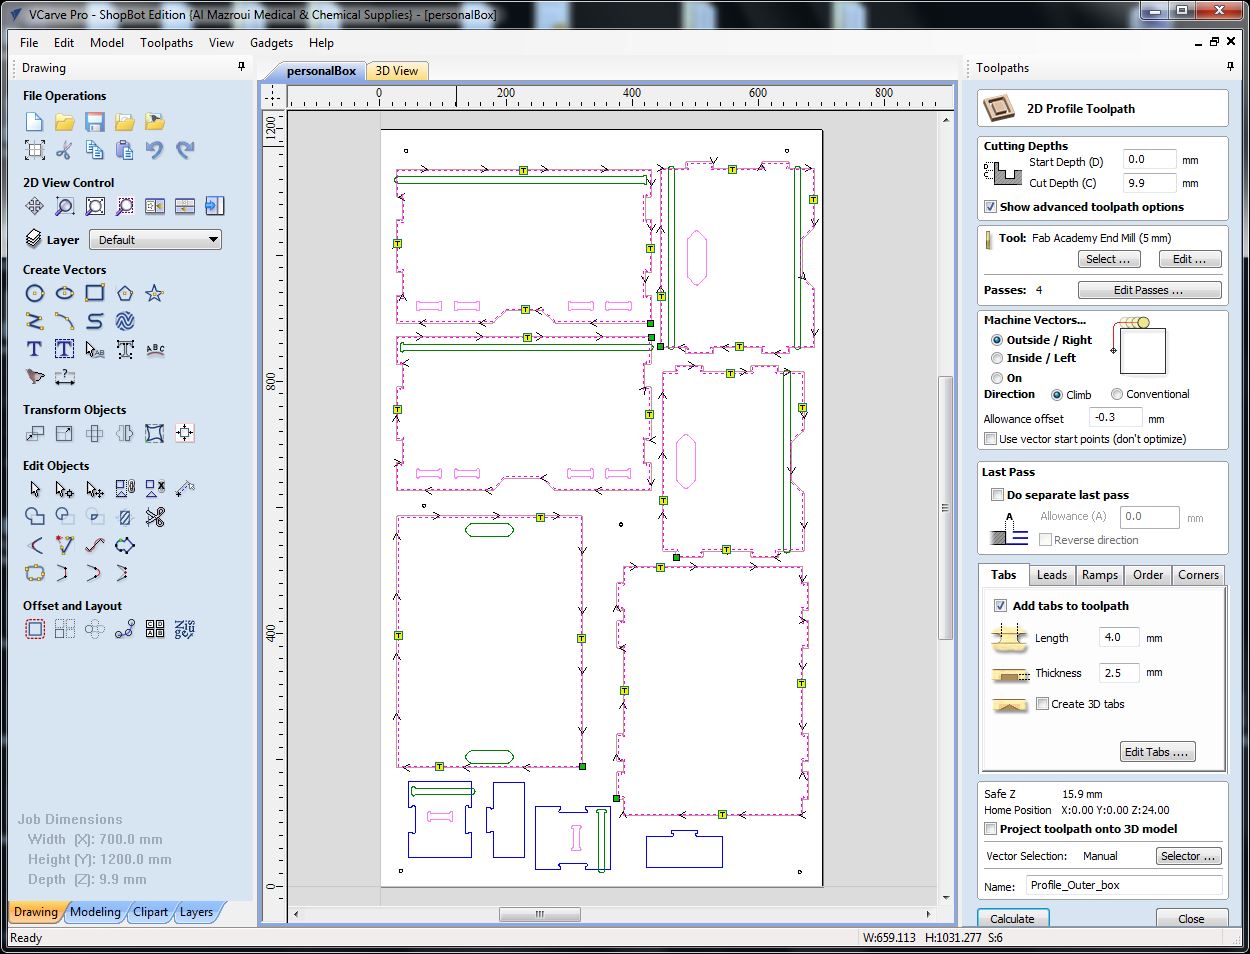
Outer profile toolpath with outside vectors and allowance of -0.3mm:
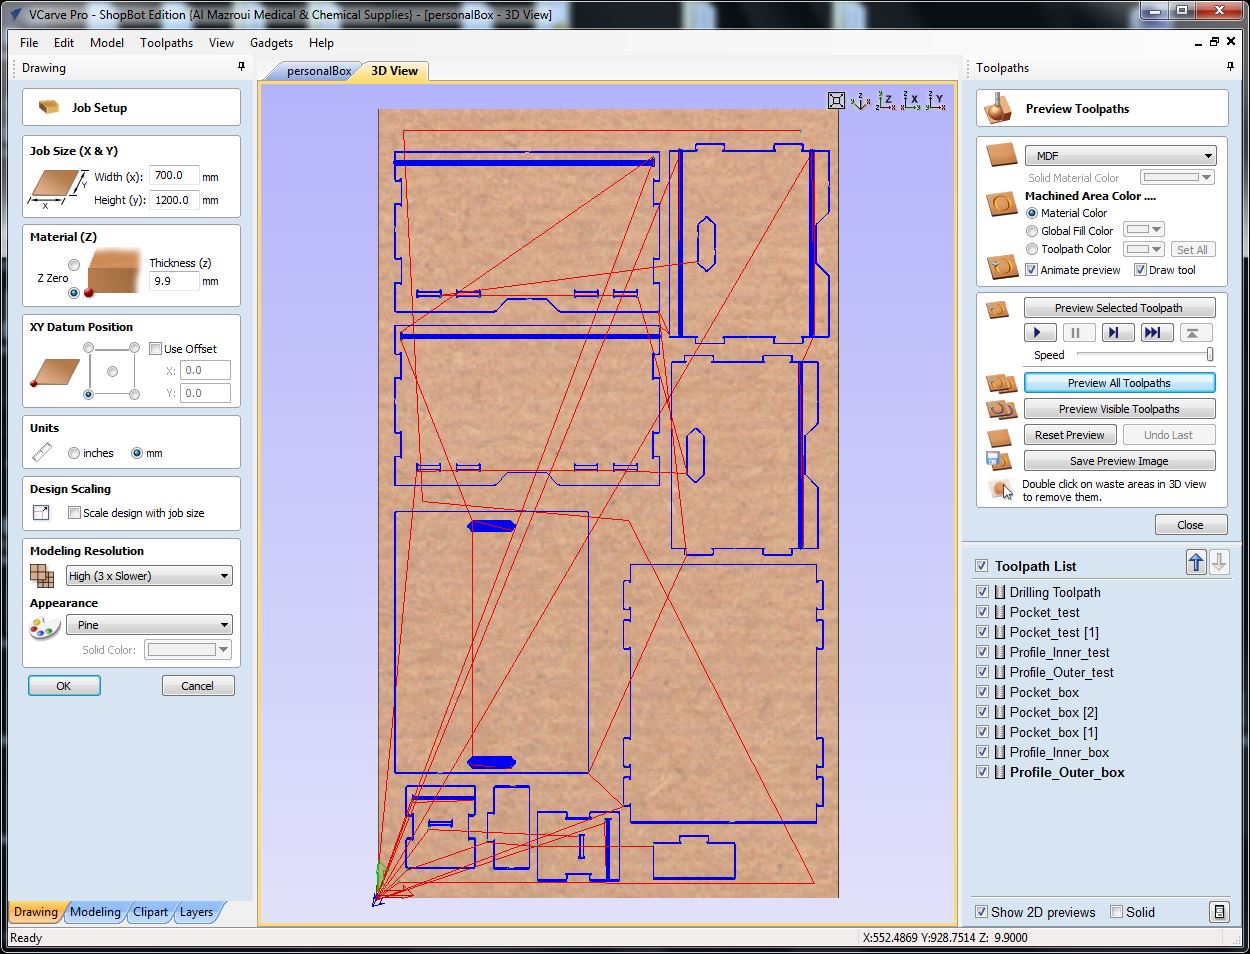
3D preview of all toolpaths:
CNC milling machines are really powerful machines. Therefore, they need to be carried out with great focus and observation of the process. Please refer to this documentation on CNC milling for further instructions on how to run the machine and follow the safety protocols.